Perforce » History » Version 73
« Previous -
Version 73/81
(diff) -
Next » -
Current version
Greg Mathis, 04/10/2018 04:05 PM
Perforce
Last updated by Greg Mathis. Updated about 8 years ago
The installation executables are listed below. Click on the link to download the appropriate version, and then execute it.
For Windows 10, use the 64 bit version, p4vinst64.exe
For Windows 7, use the 32 bit version, p4vinst.exe
Step 1 - Run the install file, select "Next"

Step 2 - Keep default selections, select "Next"

Step 3 - Set Server to values below, set your User Name, select "Next"

Step 4 - Select "Install"

Step 5 - Select "Close"

Step 6 - To start Perforce select "P4V"

Step 7 - Default startup dialog should appear, should have the proper Server and User set from Perforce installation Step 3 above. Select "OK"

Step 8 - Check the "Trust this fingerprint" button and select "Connect"

Step 9 - Enter in your password and select "OK"

Step 10 - Select "No"

Step 11 - Select "No"

Step 12 - We need to create a workspace. Go to View Tab, pull down to "Workspaces"

Step 13 - Notice a "Workspaces" pane has now appeared on the left side

Step 14 - Right click in "Workspaces" pane and select "New Workspace ..."

Step 15 - Default Workspace name is fine, but change Workspace root: to C:\ and select "OK"

Step 16 - You might get the following warning, select "No"

Step 17 - Now you should see your workspace in the right pane

Step 18 - But we want to make a change to the workspace. Right click and select "Edit Workspace ...'

Step 19 - Select the "Text List Box" display style to see the text of Workspace Mappings:

Step 20 - Edit the text box to as show below, "//depot/.. //<your_workspace_name>/perforce/...

Step 21 - Select "Do Not Update" (we will do it manually at first)

Step 22 - In the right pane, select depot, right click, and select "Get Latest Revision"

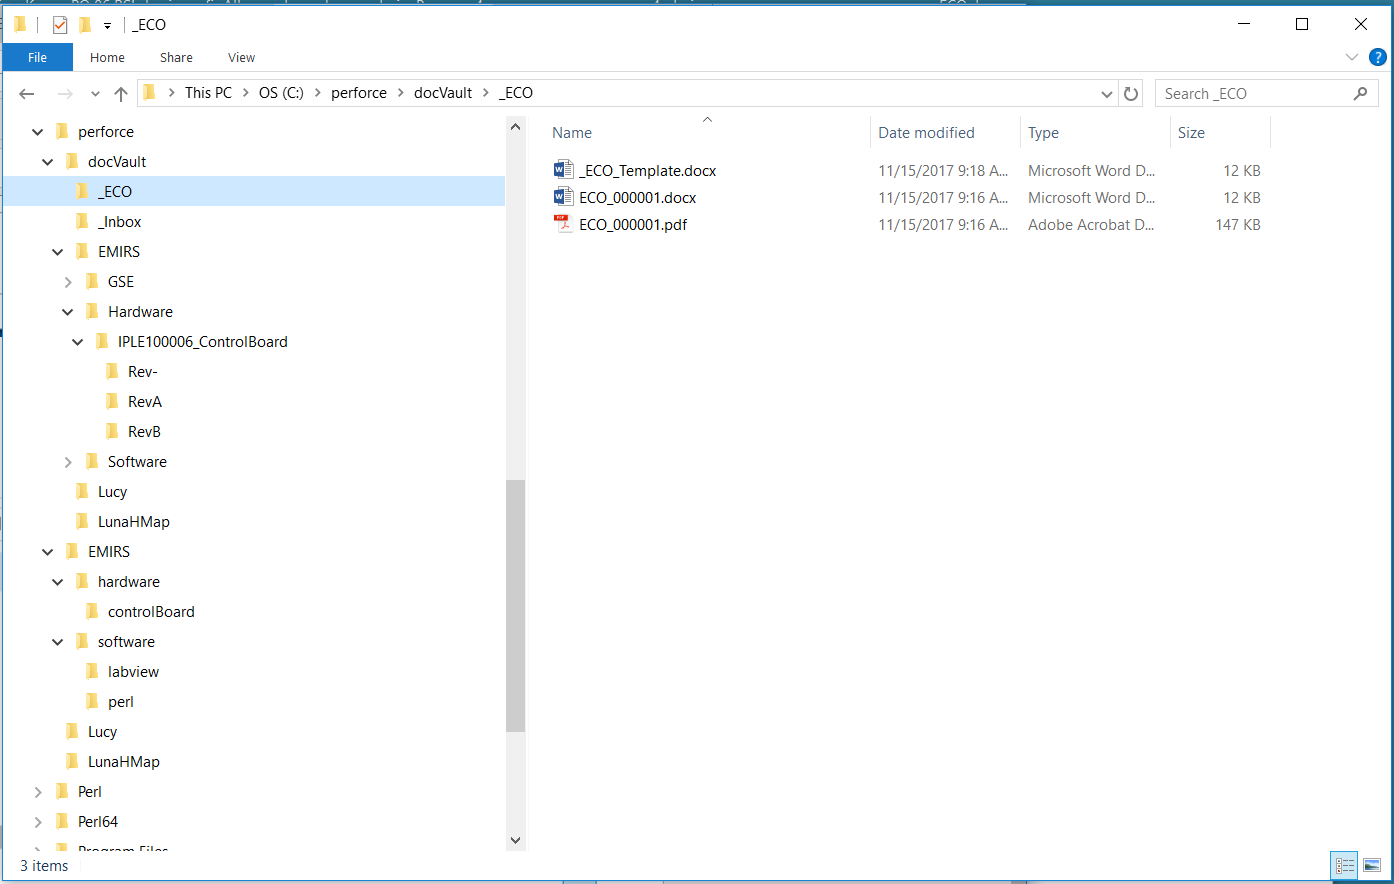
Step 23 - In a file explorer window, verify you now have a C:\perforce directory and a number of notional subdirectories and placeholder files to kickstart discussions
Adding Files to Perforce
It's not very obvious how to add files to Perforce. If you have set up things up the "simple" way, the Perforce Depot is a simple mapping to your local drive at c:\perforce, i.e. \depot\... = C:\perforce\... (you can create custom mappings, if you want/need to, just ask Greg)
Step 1
Let's say I want to add a new GSE Perl script, newTest.pl, to the Perforce depot. The location in the Depot where I would want to add the file is: \depot\EMIRS\software\GSE\perl\. So I place the file in the my local drive at C:\perforce\EMIRS\software\GSE\perl\.
Then bring up Perforce and select the workspace tab view in the left Perforce pane: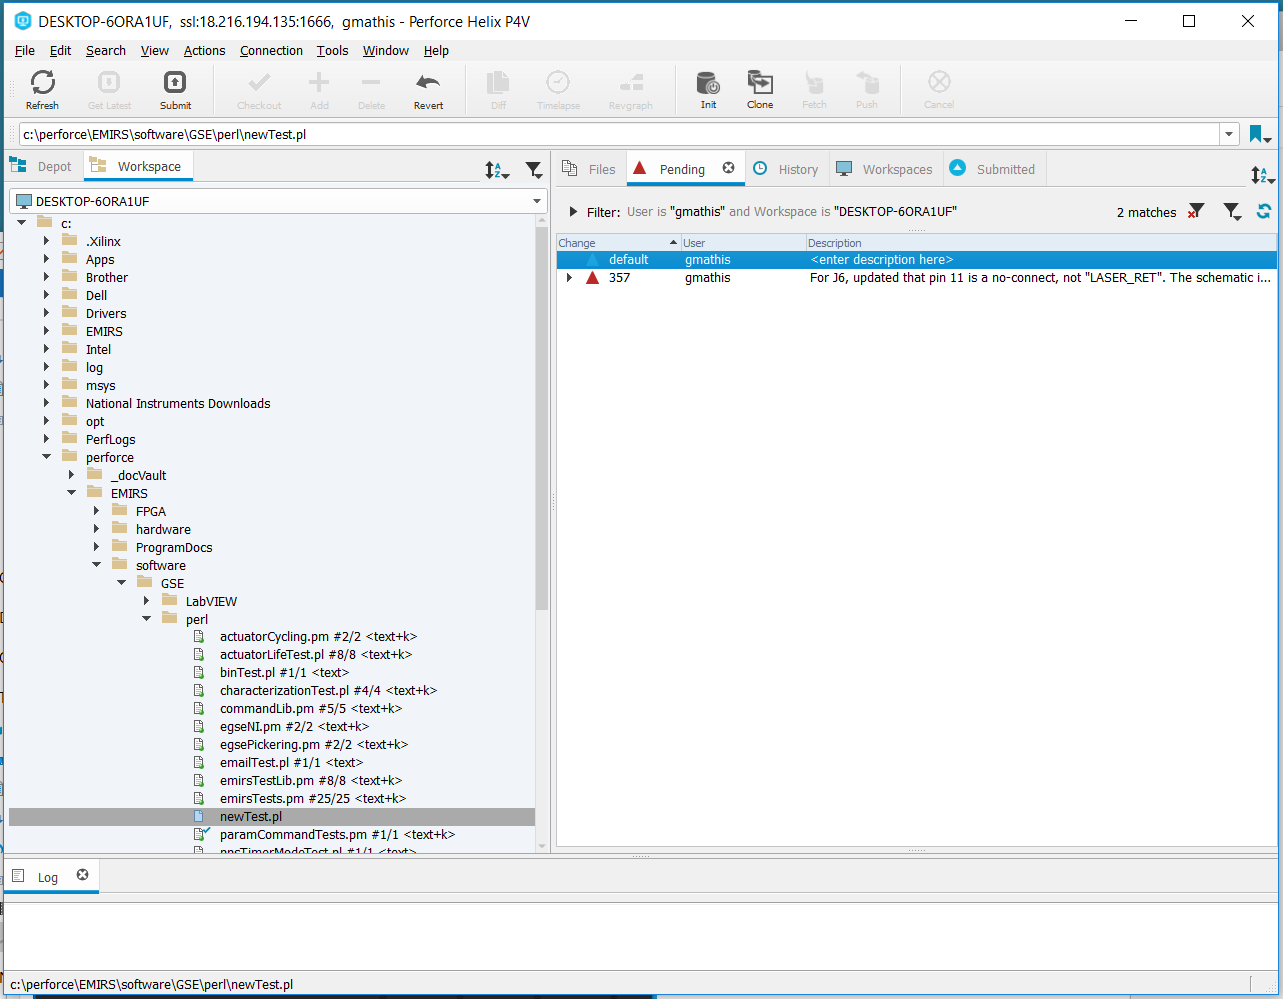
Step 2
newTest.pl should be visible in the workspace view. (You may need to hit the refresh icon in the upper left of the Perforce window, if you just added the file) You'll notice the file has just a blank white icon to the left of the file name, and of course, no revision information to the right of the file name.
Step 3
Highlight the file name, right click, and select "Mark for Add". Now on the Perforce right pane, with the "Pending" tab selected, you should see newTest.pl in the "default" change list, as shown below: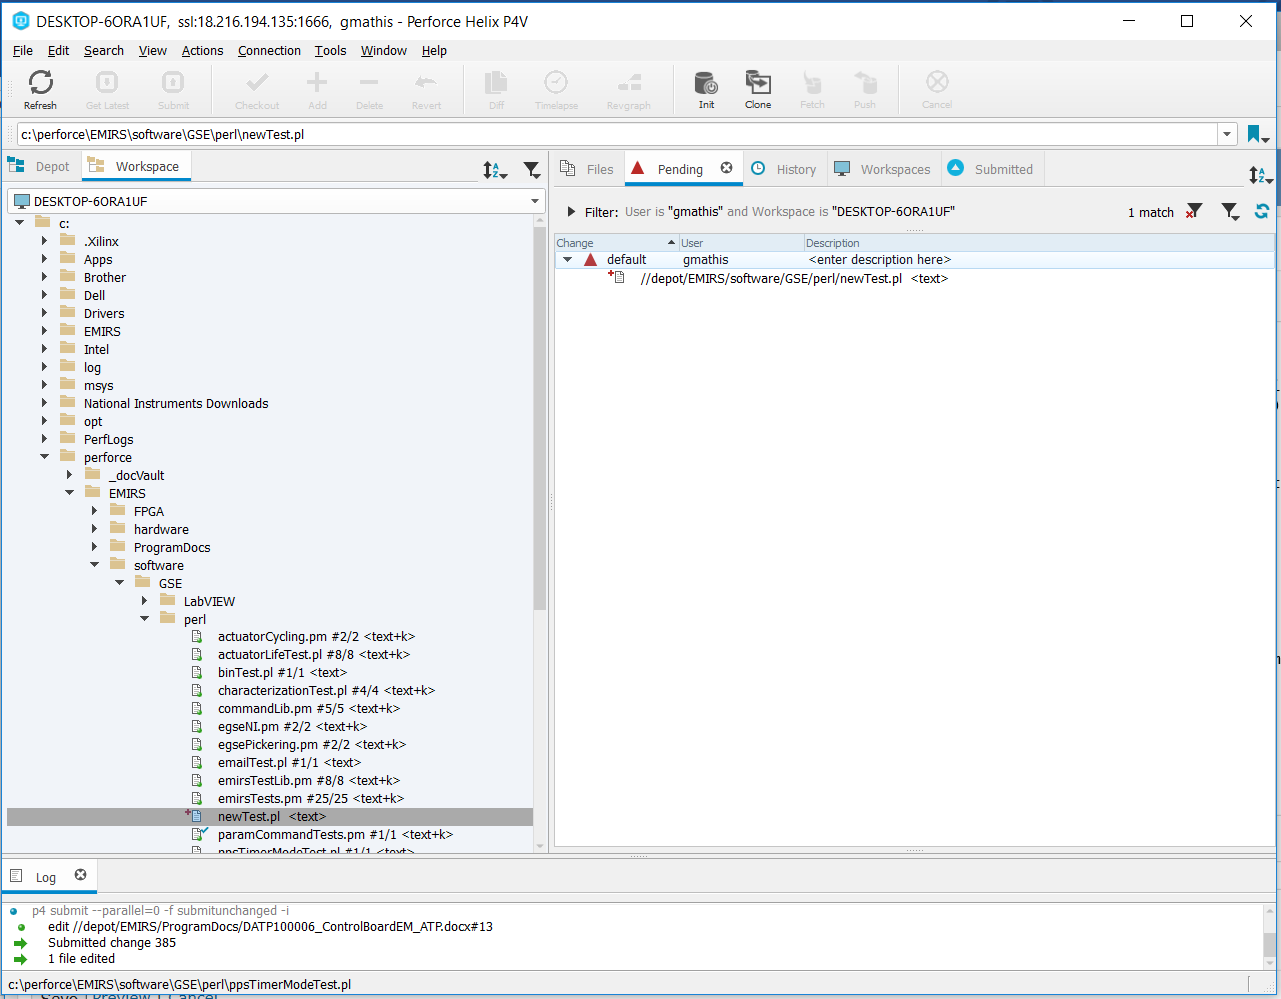
Step 4
Highlight the default change list, right click, and select "Submit". Now provide something meaningful in the change list description, and hit the "Submit" button.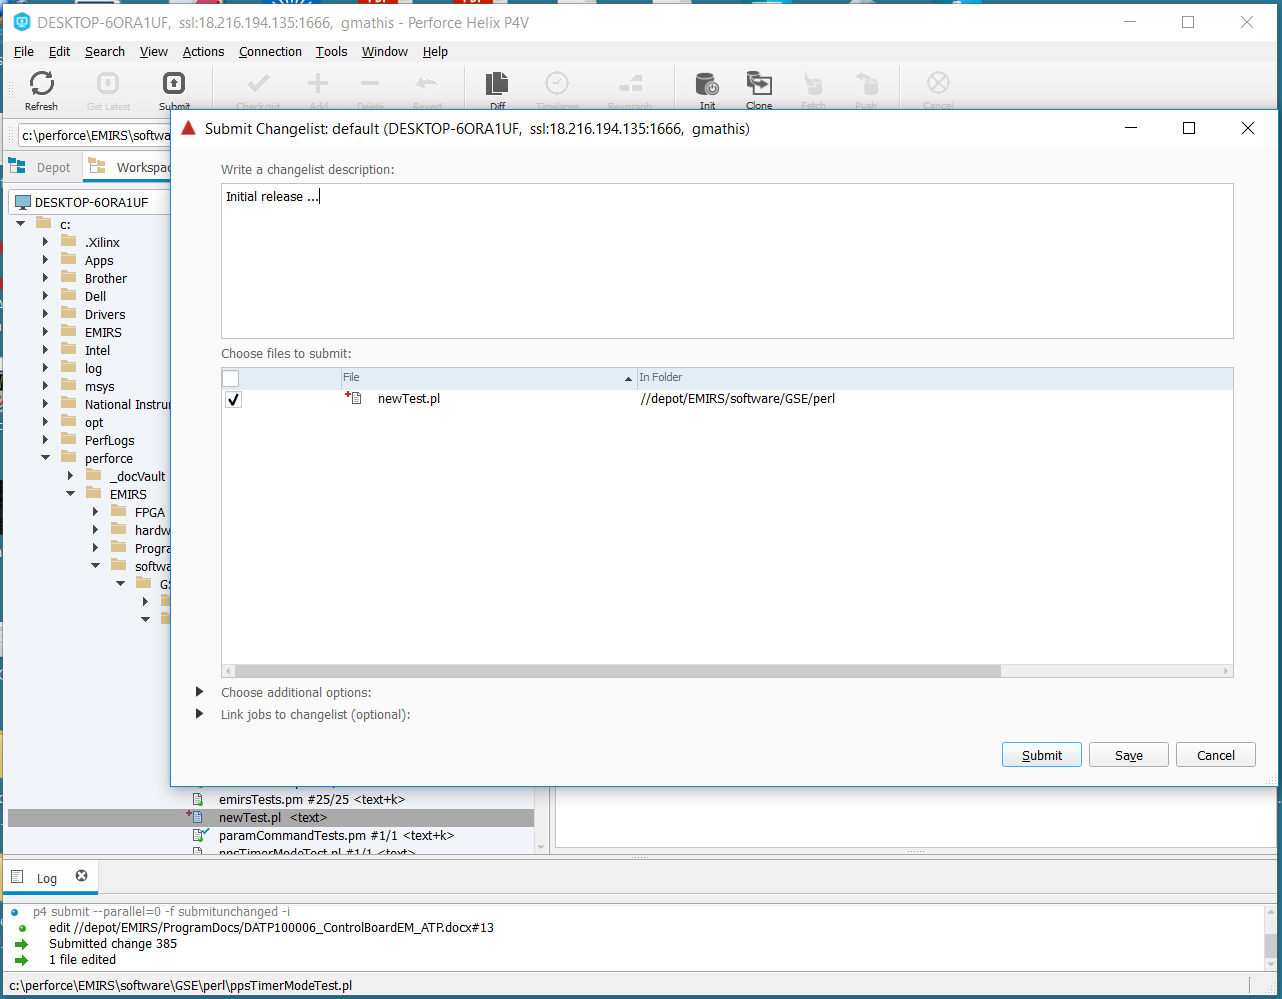
Step 5
You should be done adding the file (or multiple files, or directory, or multiple directories) and they should now show up in the depot view (left Perforce pane, select Depot view tab).

