|
p4vinst64.exe (68.3 MB)
p4vinst64.exe |
Windows 64bit installation executable |
Anonymous, 11/13/2017 12:31 PM
|
|
|
picture425-1.png (28 KB)
picture425-1.png |
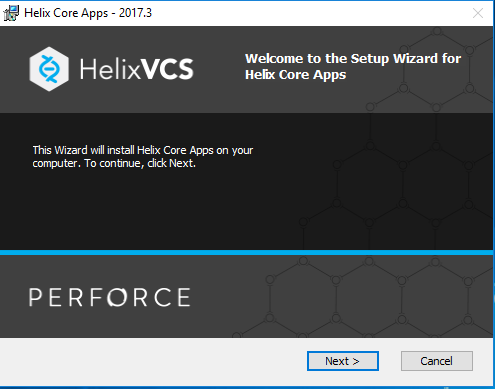
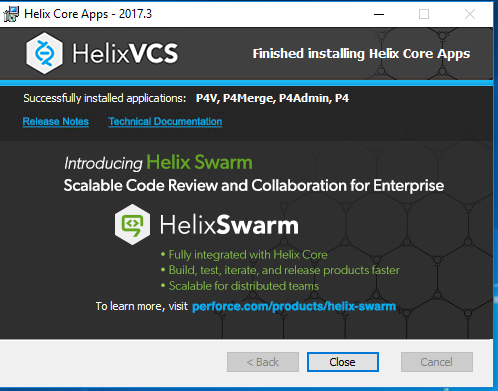
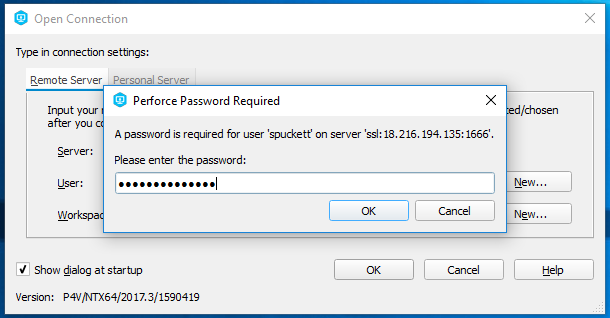
Step 1 - Perforce |
Anonymous, 11/13/2017 12:36 PM
|
|
|
picture624-1.png (47.1 KB)
picture624-1.png |
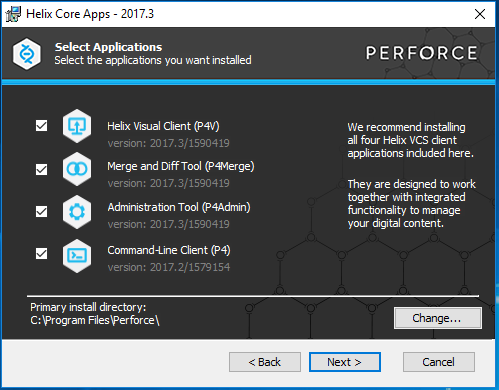
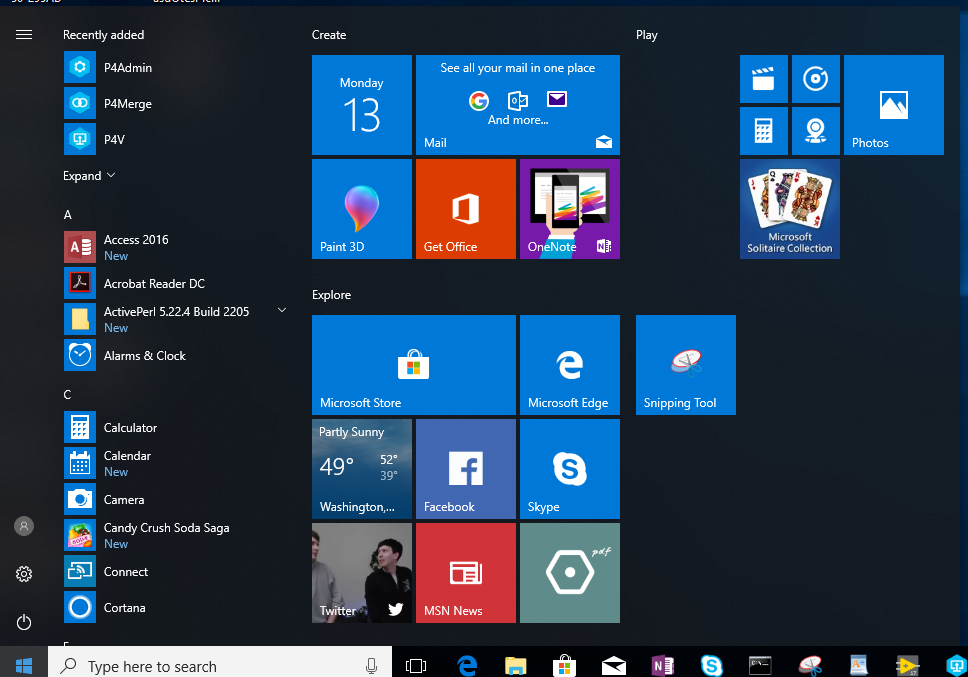
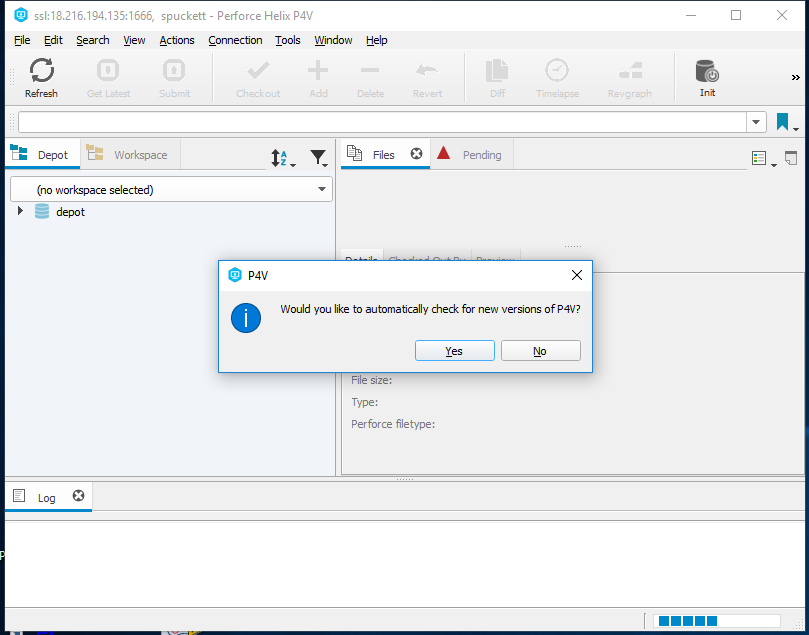
Step 2 - Perforce |
Anonymous, 11/13/2017 12:38 PM
|
|
|
picture799-1.png (37.5 KB)
picture799-1.png |
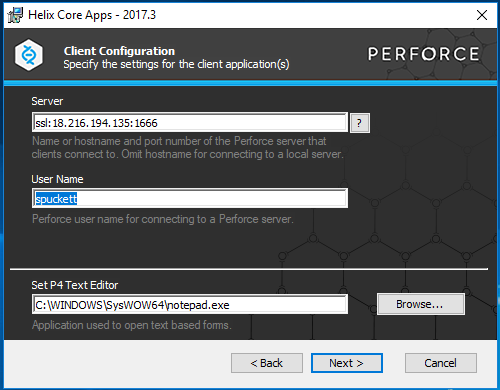
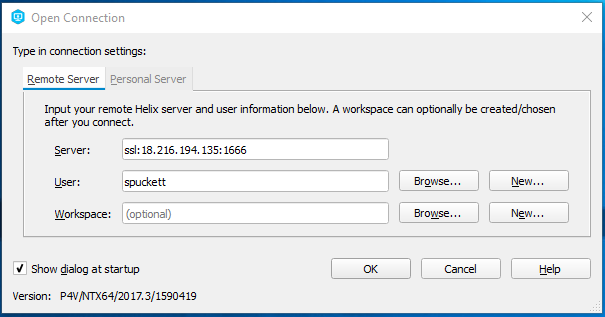
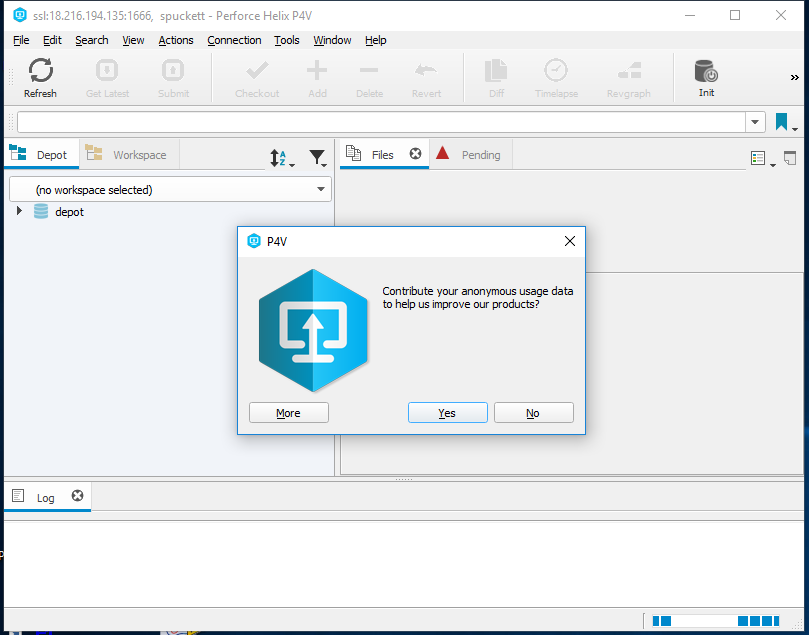
Step 3 - Perforce |
Anonymous, 11/13/2017 12:40 PM
|
|
|
picture895-1.png (30.3 KB)
picture895-1.png |
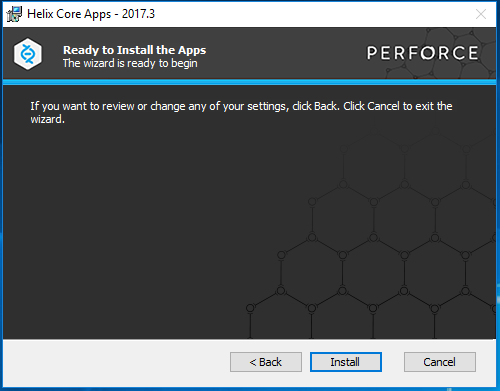
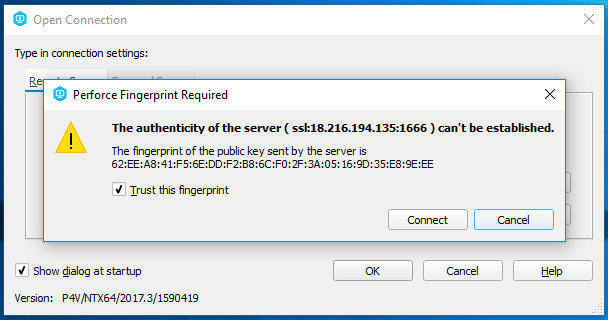
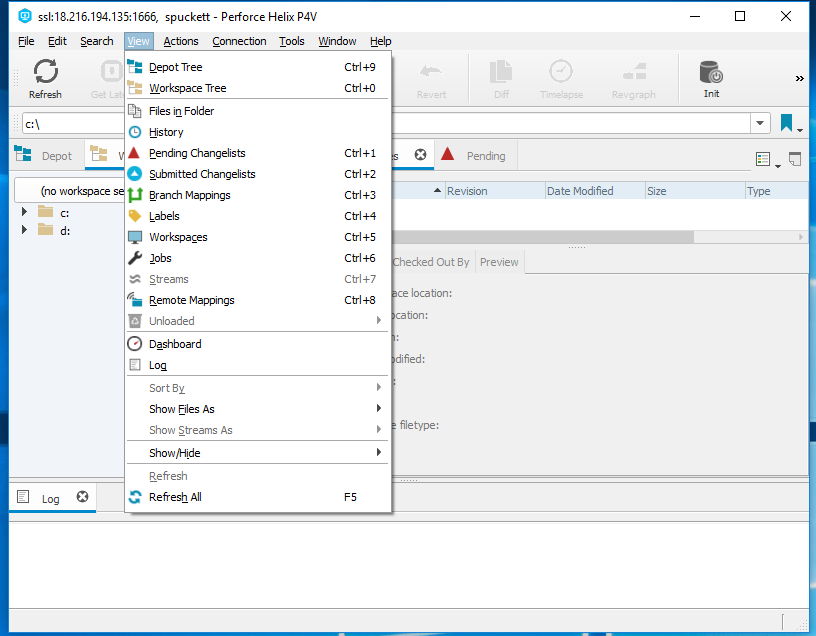
Step 4 - Perforce |
Anonymous, 11/13/2017 12:41 PM
|
|
|
picture655-1.png (63.5 KB)
picture655-1.png |
Step 5 - Perforce |
Anonymous, 11/13/2017 12:42 PM
|
|
|
picture843-1.png (437 KB)
picture843-1.png |
Step 6 - Perforce |
Anonymous, 11/13/2017 12:44 PM
|
|
|
picture639-1.png (24.4 KB)
picture639-1.png |
Step 7 - Perforce |
Anonymous, 11/13/2017 12:47 PM
|
|
|
picture850-1.png (29.8 KB)
picture850-1.png |
Step 8 - Perforce |
Anonymous, 11/13/2017 12:48 PM
|
|
|
picture710-1.png (31.8 KB)
picture710-1.png |
Step 9 - Perforce |
Anonymous, 11/13/2017 12:50 PM
|
|
|
picture132-1.png (40.8 KB)
picture132-1.png |
Step 10 - Perforce |
Anonymous, 11/13/2017 12:51 PM
|
|
|
picture371-1.png (44.9 KB)
picture371-1.png |
Step 11 - Perforce |
Anonymous, 11/13/2017 12:52 PM
|
|
|
picture26-1.png (66.1 KB)
picture26-1.png |
Step 12 - Perforce |
Anonymous, 11/13/2017 12:55 PM
|
|
|
picture343-1.png (38.7 KB)
picture343-1.png |
Step 13 - Perforce |
Anonymous, 11/13/2017 12:56 PM
|
|
|
picture241-1.png (50 KB)
picture241-1.png |
Step 14 - Perforce |
Anonymous, 11/13/2017 12:57 PM
|
|
|
picture264-1.png (58.9 KB)
picture264-1.png |
Step 15 - Perforce |
Anonymous, 11/13/2017 12:59 PM
|
|
|
picture631-1.png (67.6 KB)
picture631-1.png |
Step 16 - Perforce |
Anonymous, 11/13/2017 12:59 PM
|
|
|
picture623-1.png (61.4 KB)
picture623-1.png |
Step 17 - Perforce |
Anonymous, 11/13/2017 01:00 PM
|
|
|
picture465-1.png (117 KB)
picture465-1.png |
Step 18 - Perforce |
Anonymous, 11/13/2017 01:01 PM
|
|
|
picture841-1.png (79.1 KB)
picture841-1.png |
Step 19 - Perforce |
Anonymous, 11/13/2017 01:02 PM
|
|
|
picture99-1.png (80.5 KB)
picture99-1.png |
Step 20 - Perforce |
Anonymous, 11/13/2017 01:03 PM
|
|
|
picture227-1.png (74.2 KB)
picture227-1.png |
Step 21 - Perforce |
Anonymous, 11/13/2017 01:04 PM
|
|
|
picture307-1.png (200 KB)
picture307-1.png |
Step 22 - Perforce |
Anonymous, 11/13/2017 01:05 PM
|
|
|
picture316-1.png (27.3 KB)
picture316-1.png |
Step 23 - Perforce |
Greg Mathis, 11/13/2017 03:09 PM
|
|
|
picture78-1.png (60.3 KB)
picture78-1.png |
|
Greg Mathis, 11/15/2017 10:01 AM
|
|
|
p4vinst.exe (58.8 MB)
p4vinst.exe |
Windows 7 installation executable |
Greg Mathis, 11/15/2017 12:12 PM
|
|
|
workspaceView.PNG (71.4 KB)
workspaceView.PNG |
|
Greg Mathis, 04/10/2018 03:38 PM
|
|
|
pending.PNG (74.2 KB)
pending.PNG |
|
Greg Mathis, 04/10/2018 03:53 PM
|
|
|
submit.PNG (78.3 KB)
submit.PNG |
|
Greg Mathis, 04/10/2018 04:01 PM
|
|
|
picture121-1.png (63.5 KB)
picture121-1.png |
|
Greg Mathis, 04/12/2018 02:08 PM
|
|
|
picture177-1.png (27.3 KB)
picture177-1.png |
|
Greg Mathis, 04/12/2018 02:14 PM
|
|
|
picture2-1.png (69 KB)
picture2-1.png |
|
Greg Mathis, 04/12/2018 02:18 PM
|
|
|
picture294-1.png (207 KB)
picture294-1.png |
|
Greg Mathis, 04/12/2018 02:22 PM
|
|
