Perforce » History » Version 45
« Previous -
Version 45/81
(diff) -
Next » -
Current version
Greg Mathis, 11/13/2017 03:04 PM
Perforce
For installation executable, download file, p4vinst64.exe, listed below in the file section at the very bottom of this page. (you might have to manually expand the file section triangle).
Step 1 - Run the install file, select "Next"
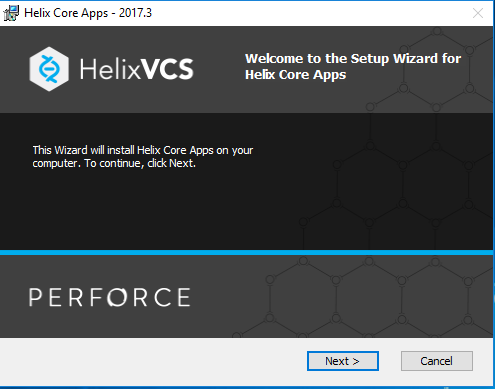
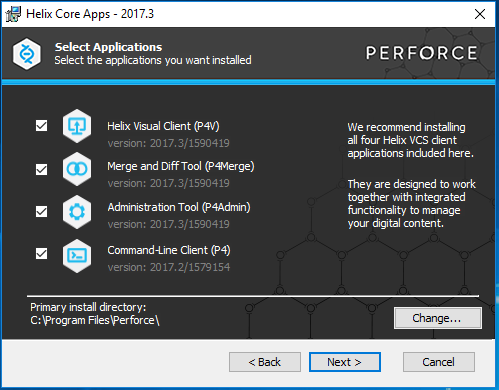
Step 2 - Keep default selections, select "Next"
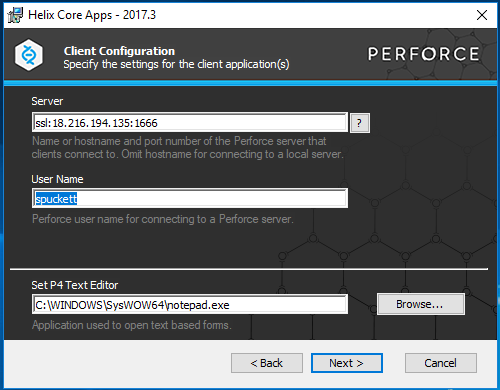
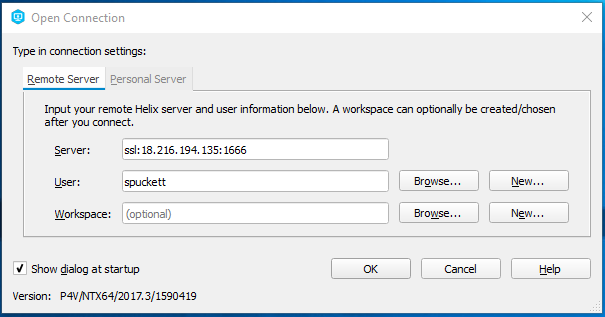
Step 3 - Set Server to values below, set your User Name, select "Next"
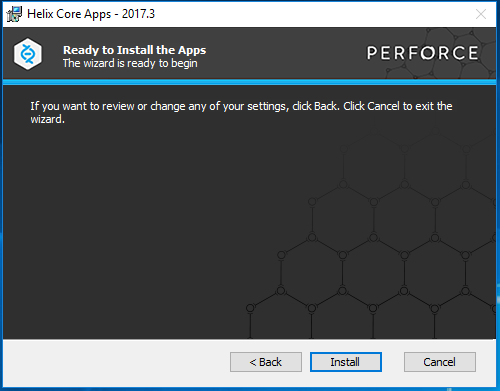
Step 4 - Select "Install"
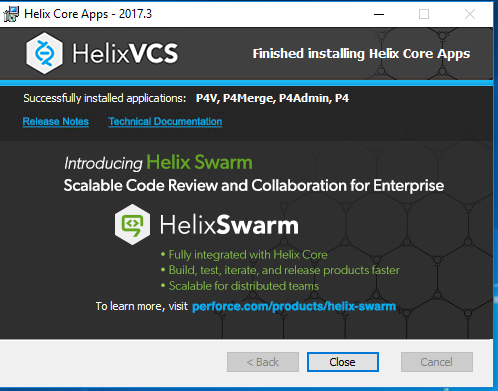
Step 5 - Select "Close"
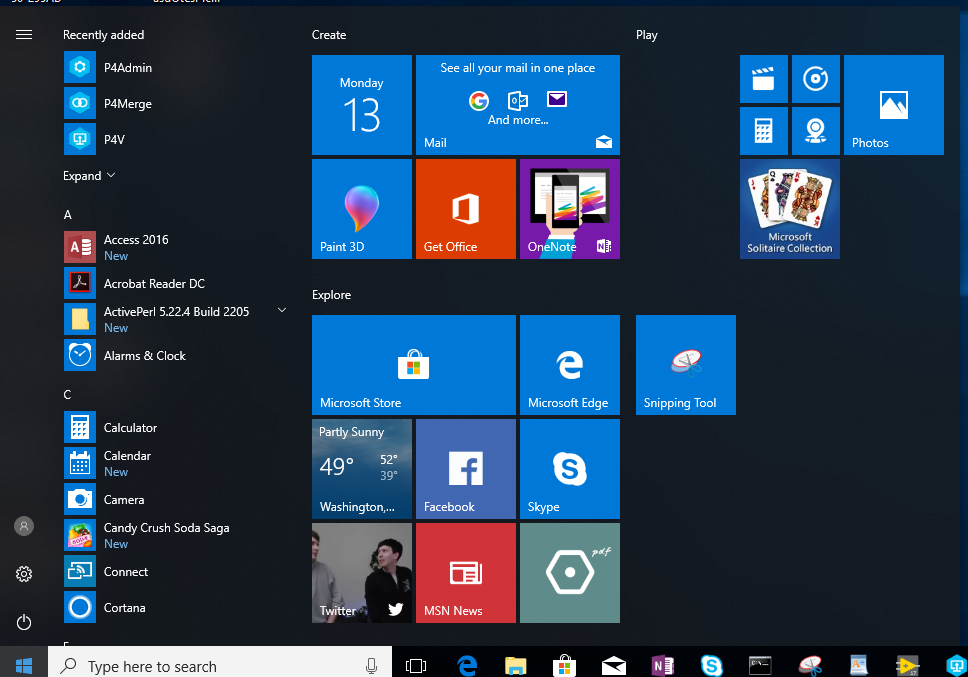
Step 6 - To start Perforce select "P4V"
Step 7 - Default startup dialog should appear, should have the proper Server and User set from Perforce installation Step 3 above. Select "OK"
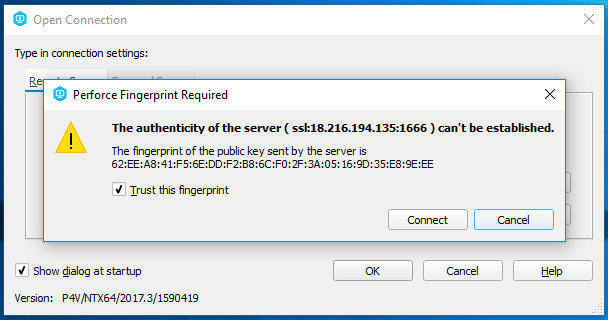
Step 8 - Check the "Trust this fingerprint" button and select "Connect"
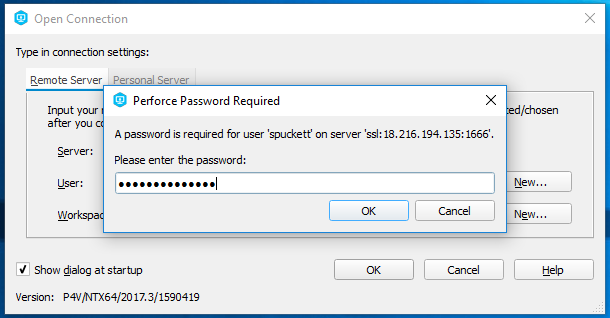
Step 9 - Enter in your password and select "OK"
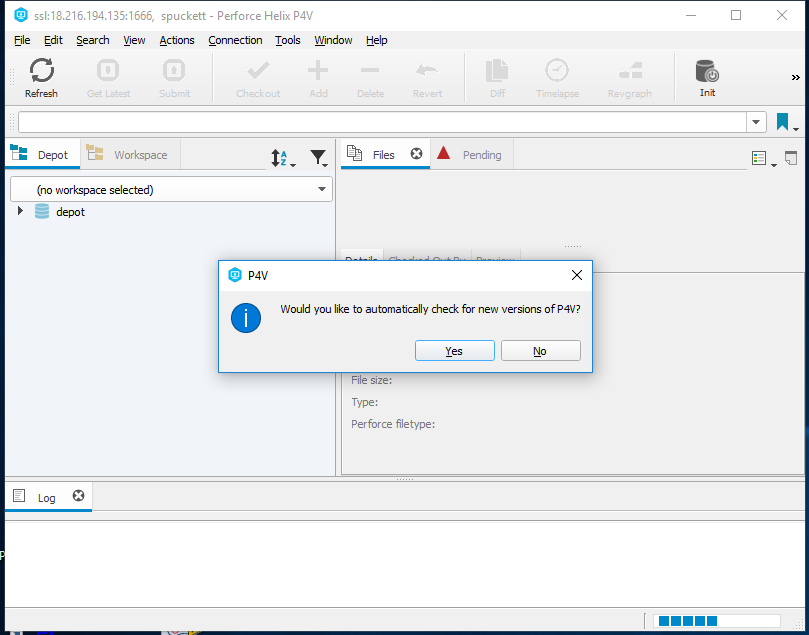
Step 10 - Select "No"
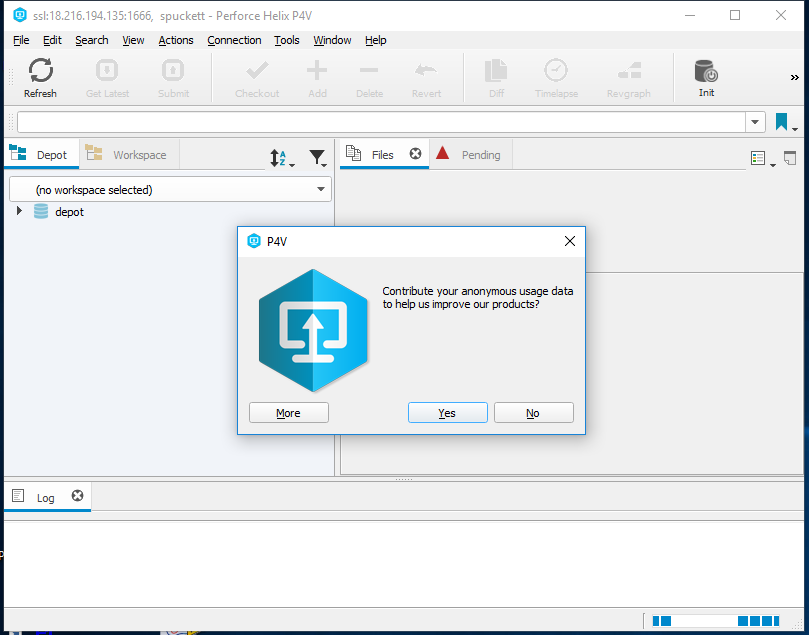
Step 11 - Select "No"
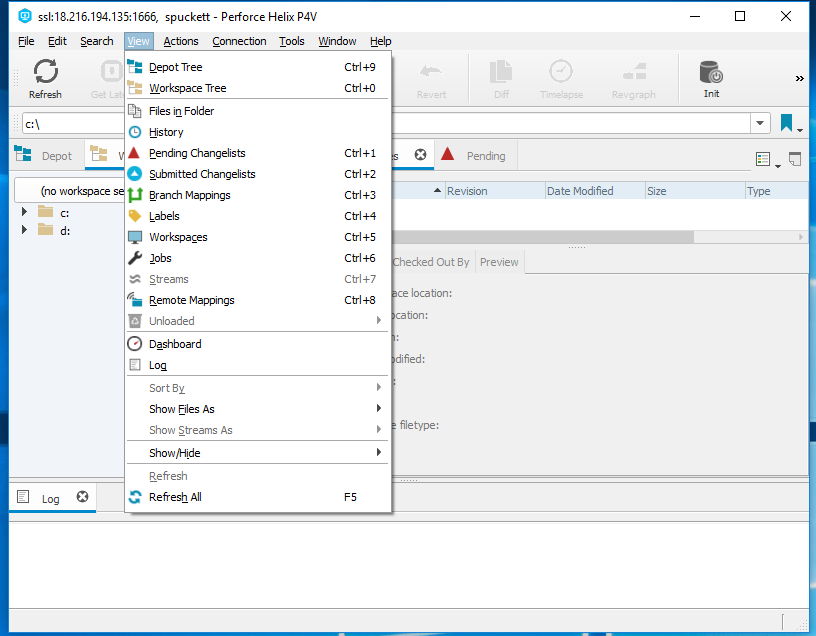
Step 12 - We need to create a workspace. Go to View Tab, pull down to "Workspaces"
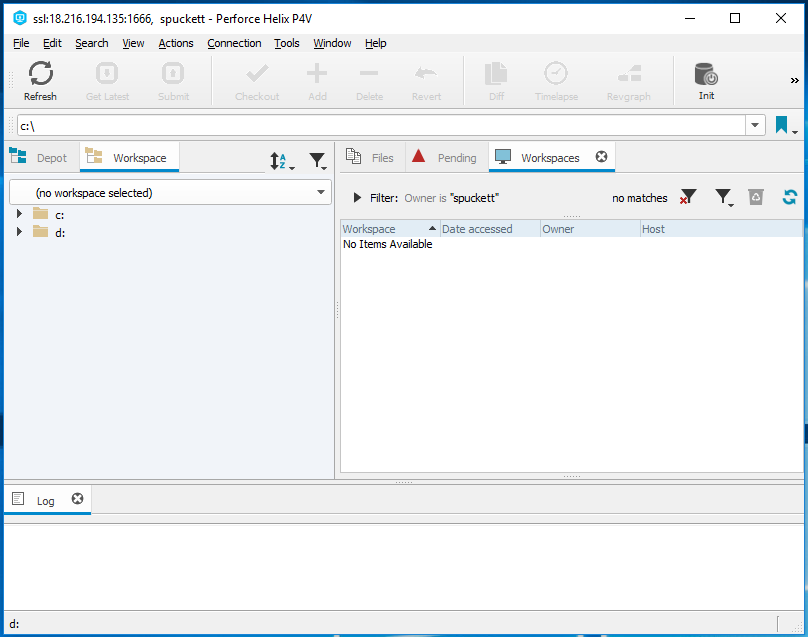
Step 13 - Notice a "Workspaces" pane has now appeared on the left side
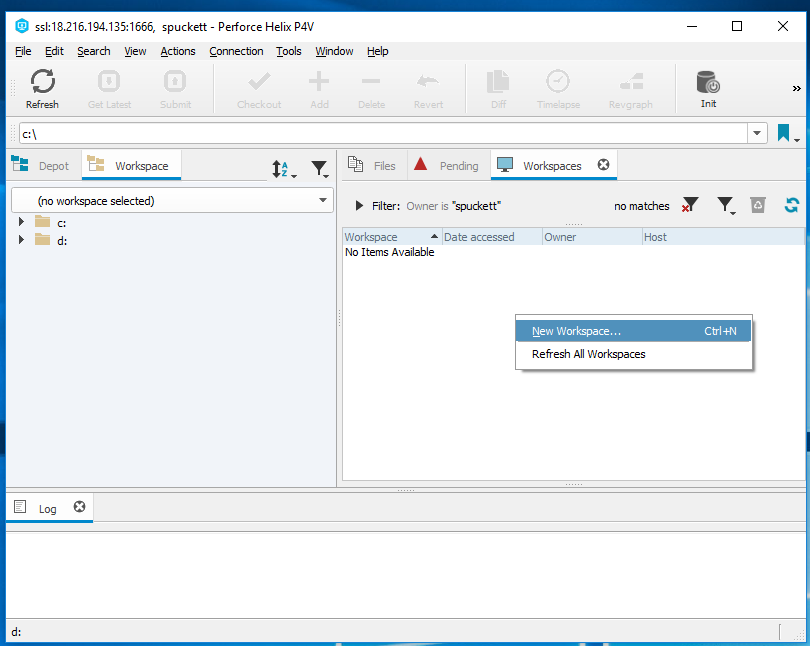
Step 14 - Right click in "Workspaces" pane and select "New Workspace ..."
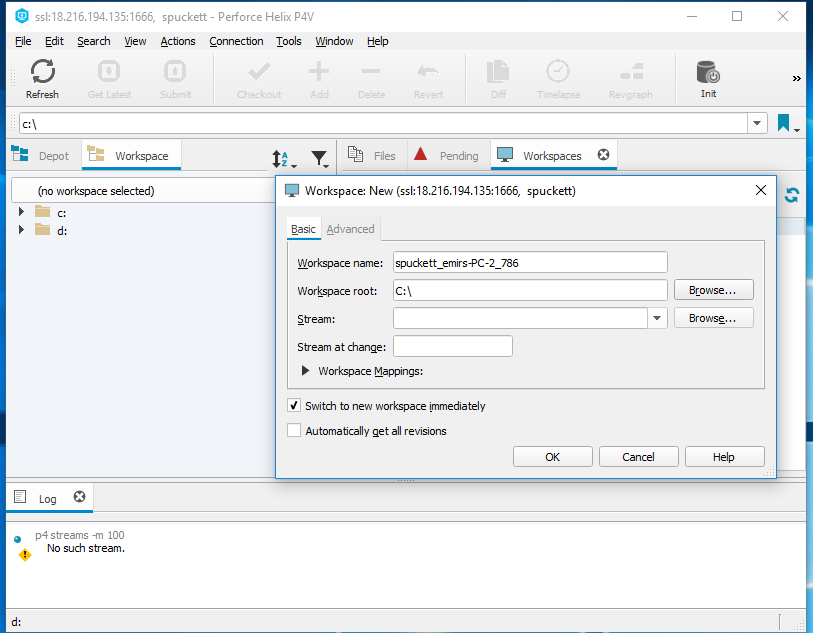
Step 15 - Default Workspace name is fine, but change Workspace root: to C:\ and select "OK"
Step 16 - You might get the following warning, select "No"
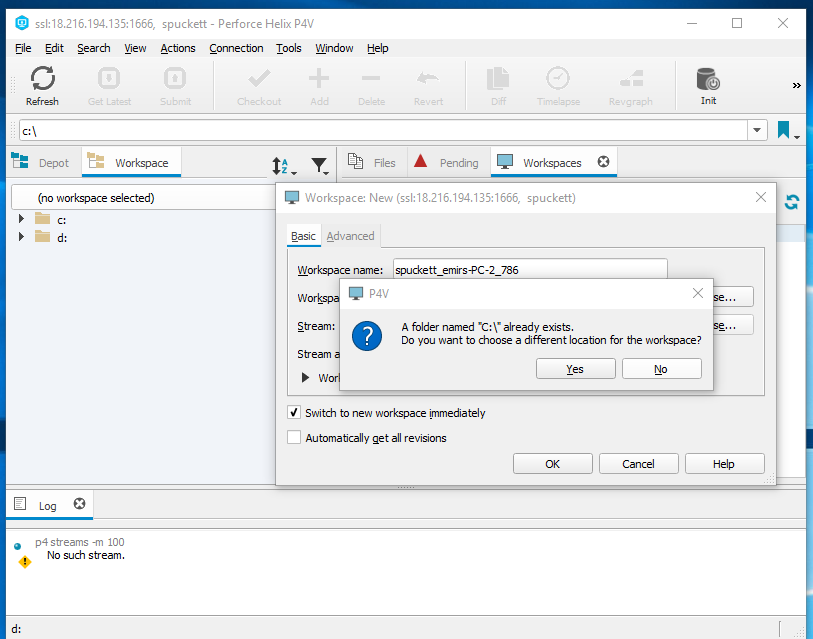
Step 17 - Now you should see your workspace in the left pane
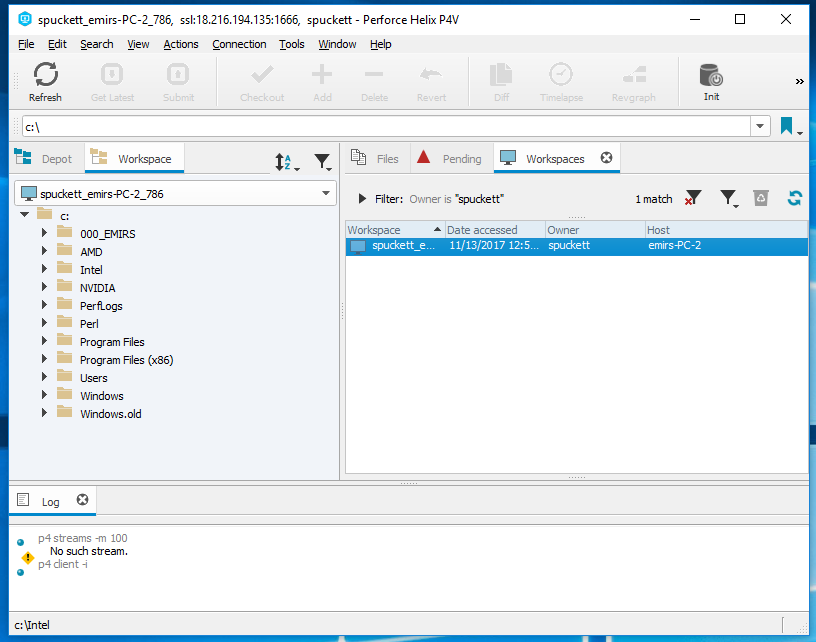
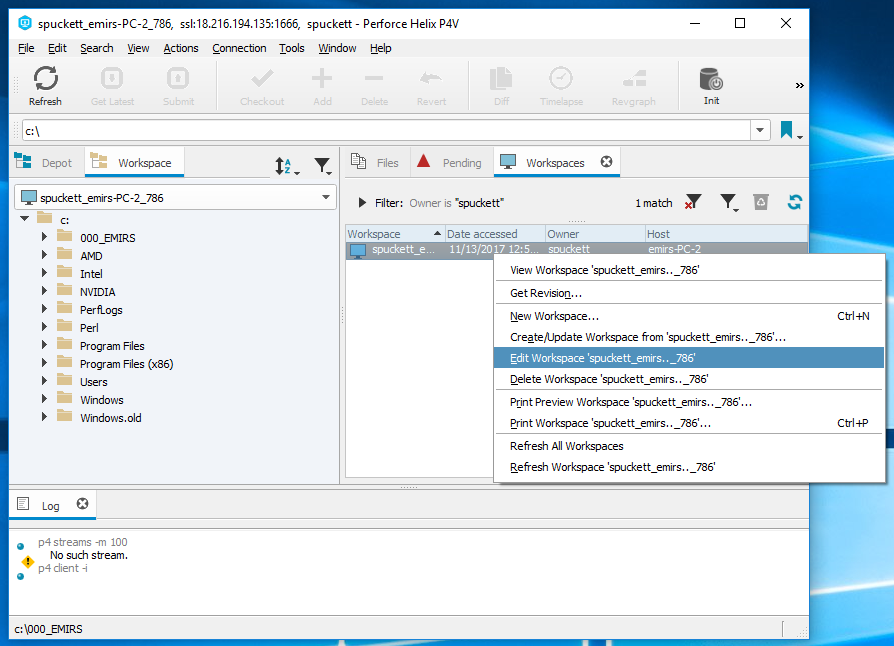
Step 18 - But we want to make a change to the workspace. Right click and select "Edit Workspace ...'
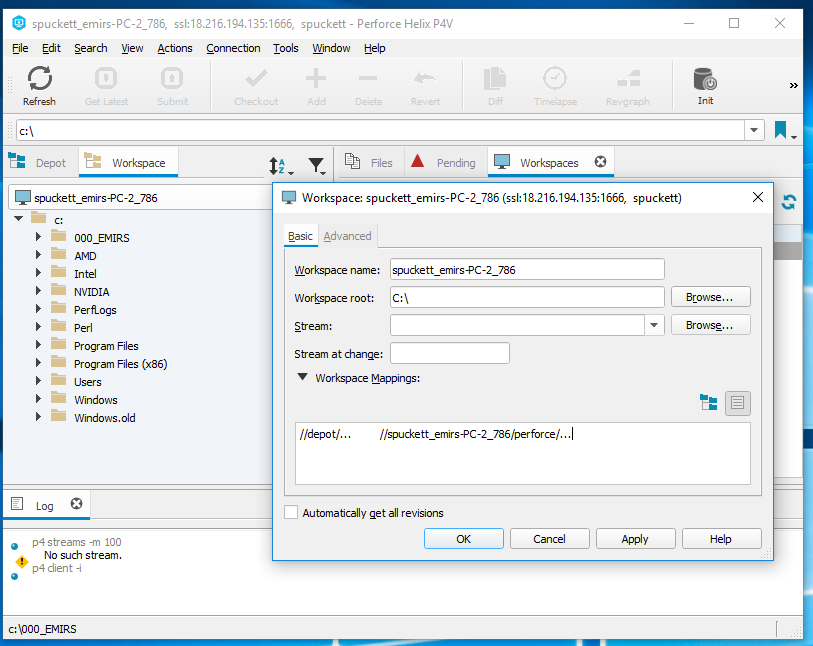
Step 19 - Select the "Text List Box" display style to see the text of Workspace Mappings:
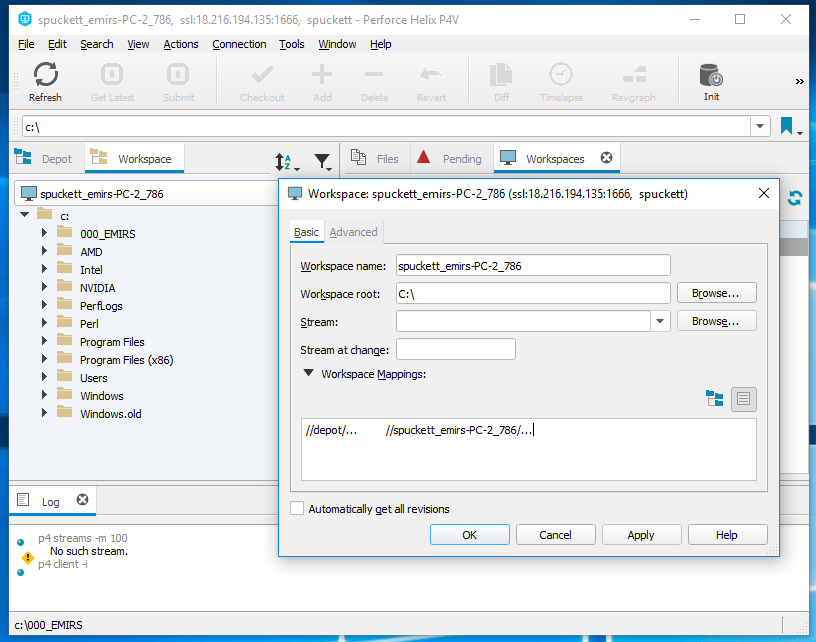
Step 20 - Edit the text box to as show below, "//depot/.. //<your_workspace_name>/perforce/...
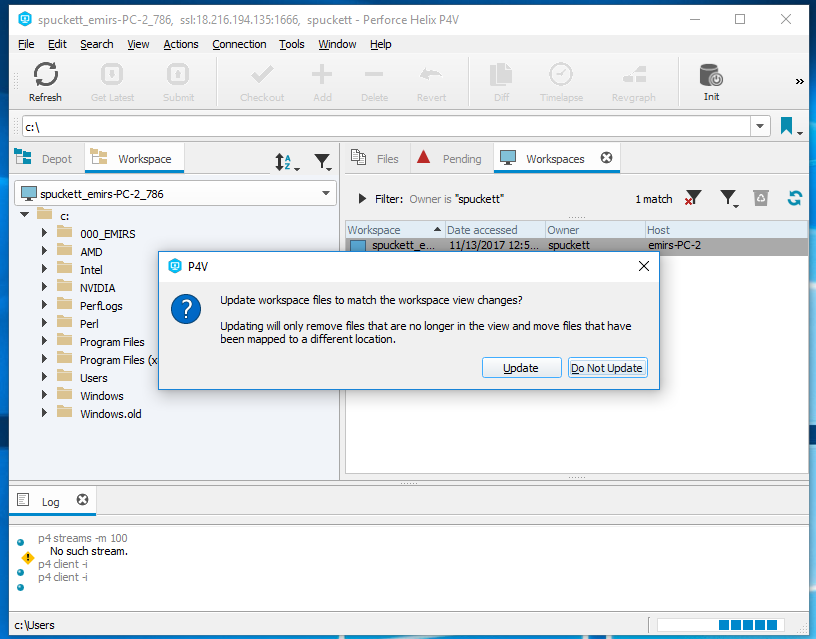
Step 21 - Select "Do Not Update" (we will do it manually at first)
