AWS Backup
We use Perforce and Redmine running on an AWS Server. Our backup strategy is to simply create an Amazon Machine Image (AMI) of the current server state. This AMI can then be used to launch a new server instance which will look just like the original, preserving all Perforce and Redmine data.
Step 1, Create AMI
Log into the AWS console, go to the instances tab, select the server instance to back up, right click, select Image->Create Image.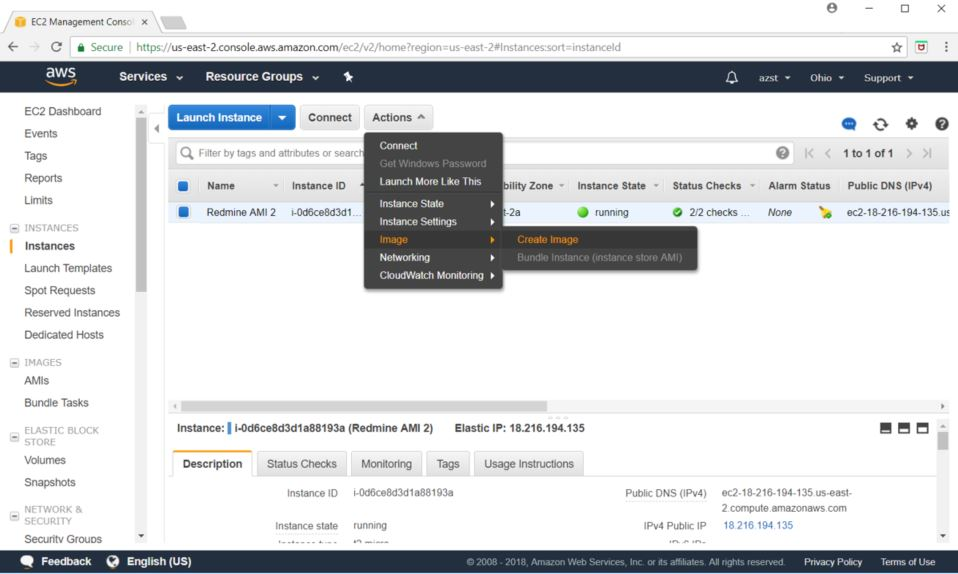
Now name the image, check the "No reboot" box, then select "Create Image" 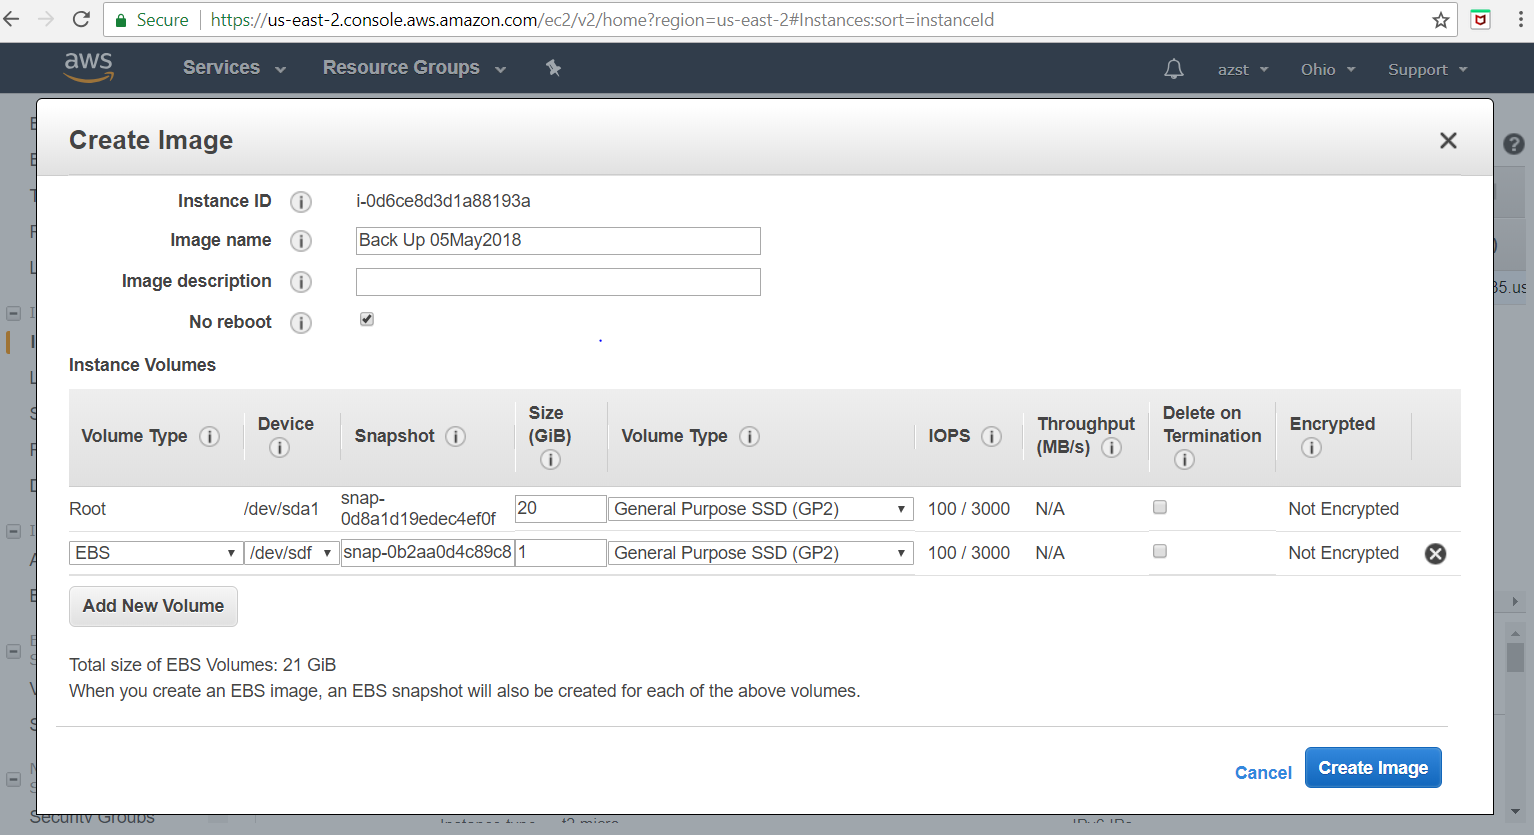
You should see Create Image request message below.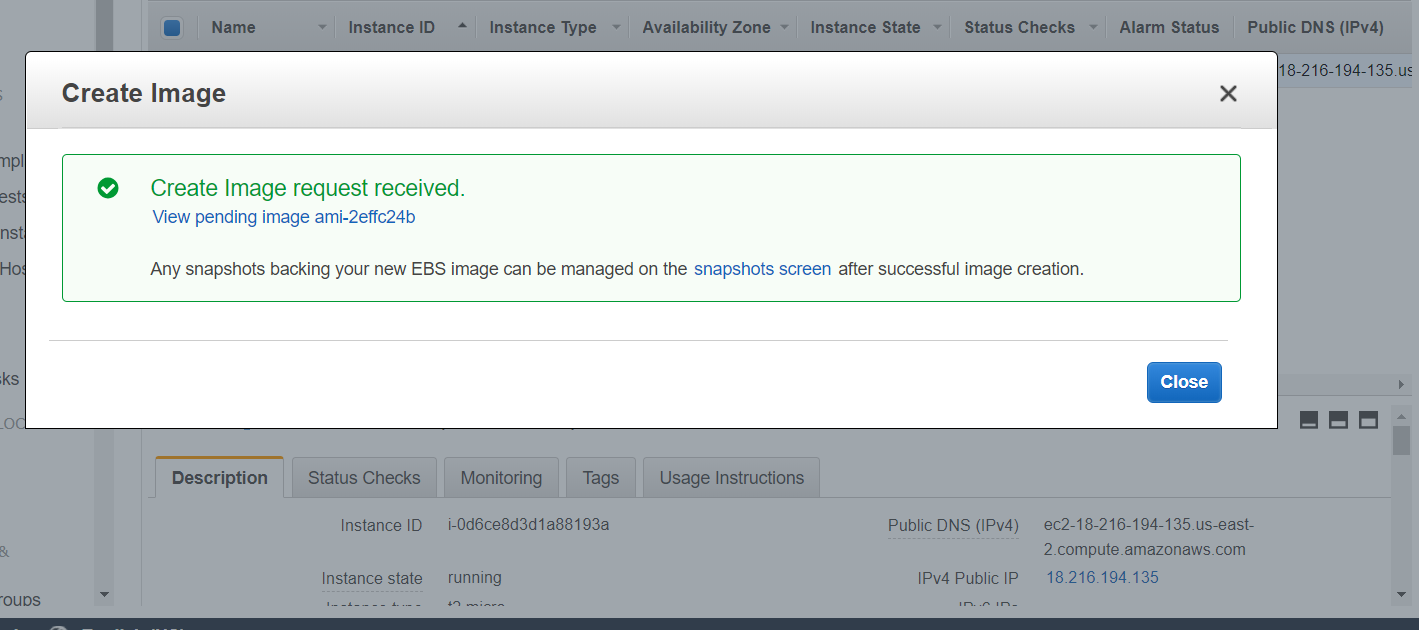
Step 2, Prepare AMI
Go to the AMI tab on the AWS console. You should now see the new AMI. (It actually could take a few minutes to appear).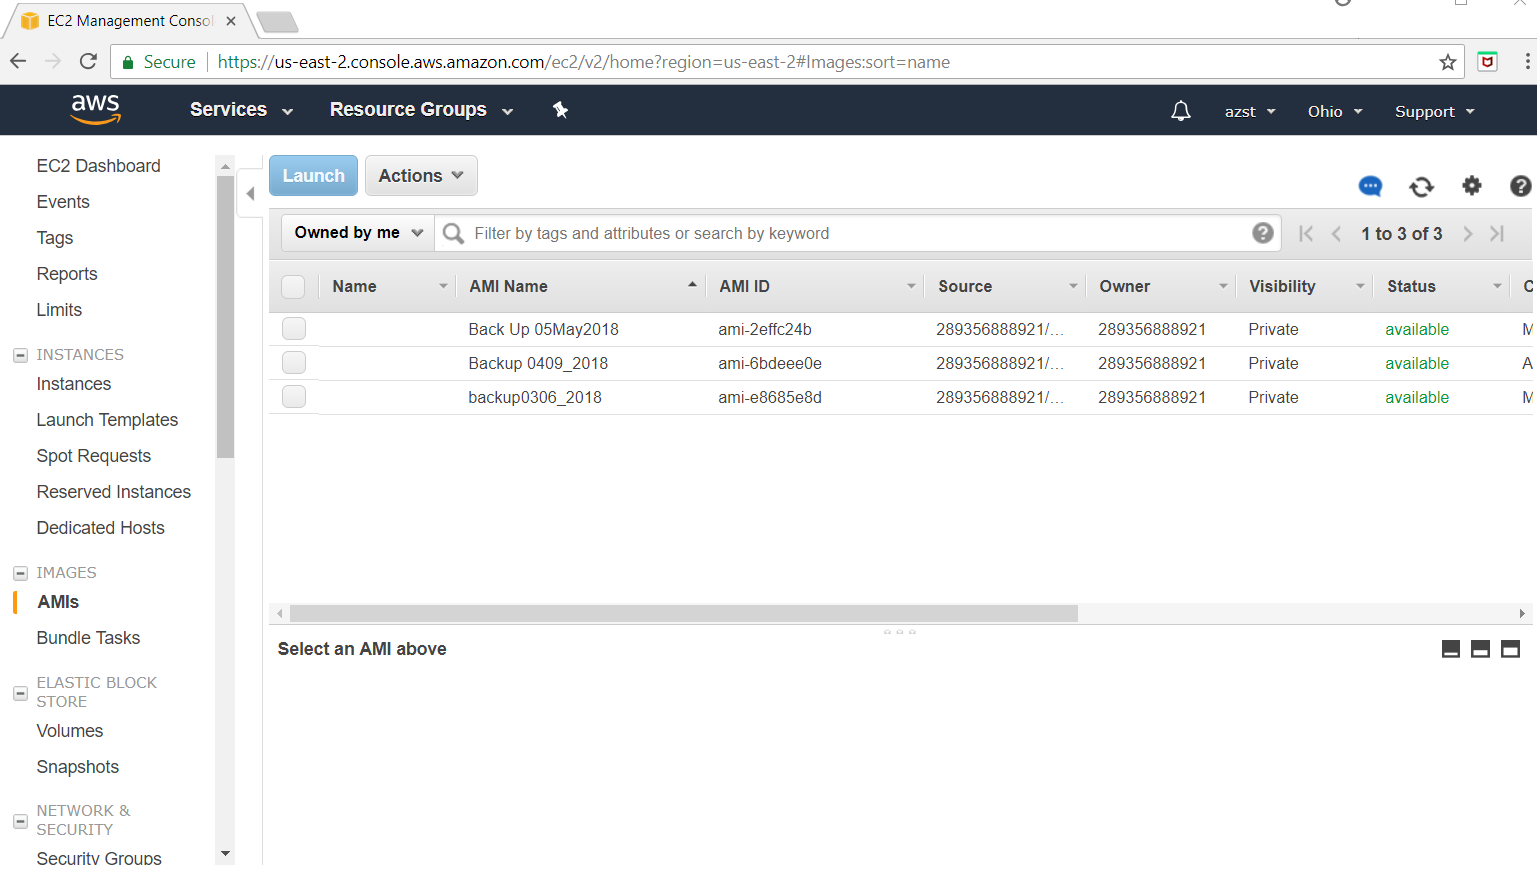
As part of our backup strategy, we create another server instance of our backup AMI, but we actually run this instance on an entirely different AWS account. The idea here is if the primary AWS account is hacked somehow, and the backup AMI's are deleted, hopefully our "backup" AWS account is not also hacked, and we have a "hot spare" ready to go (Redmine should work right away, but we would need a new Perforce license for the backup server's IP address)
To share this backup AMI with another AWS account, we have to modify the backup AMI's permissions. This step assumes you have already set up a backup AWS account and you have the account id handy. Select the backup AMI, right click, and select "Modify Image Permissions".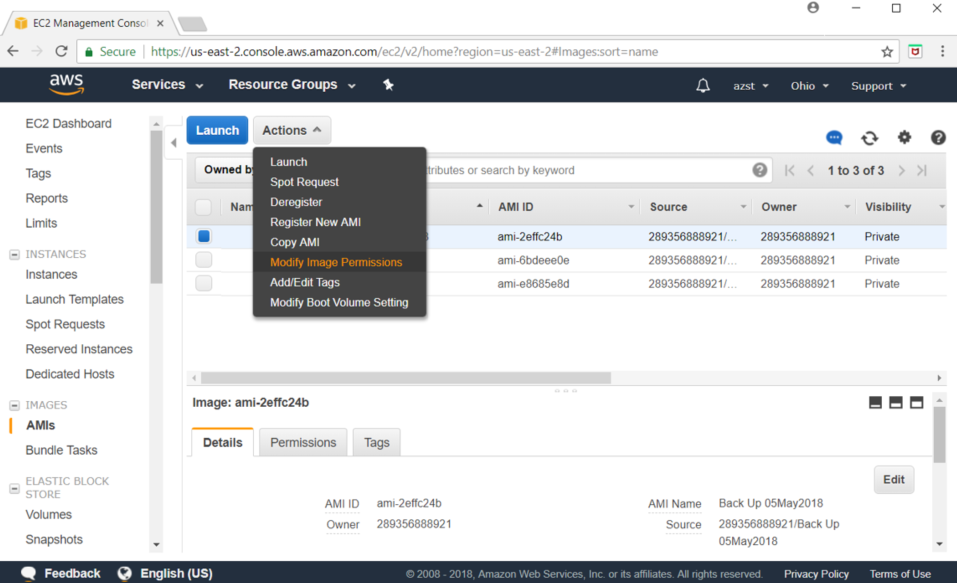
You should then see the following window. Enter in the AWS Account Number of the backup AWS account, select "Add Permission", then check the "create volume" box and then select save.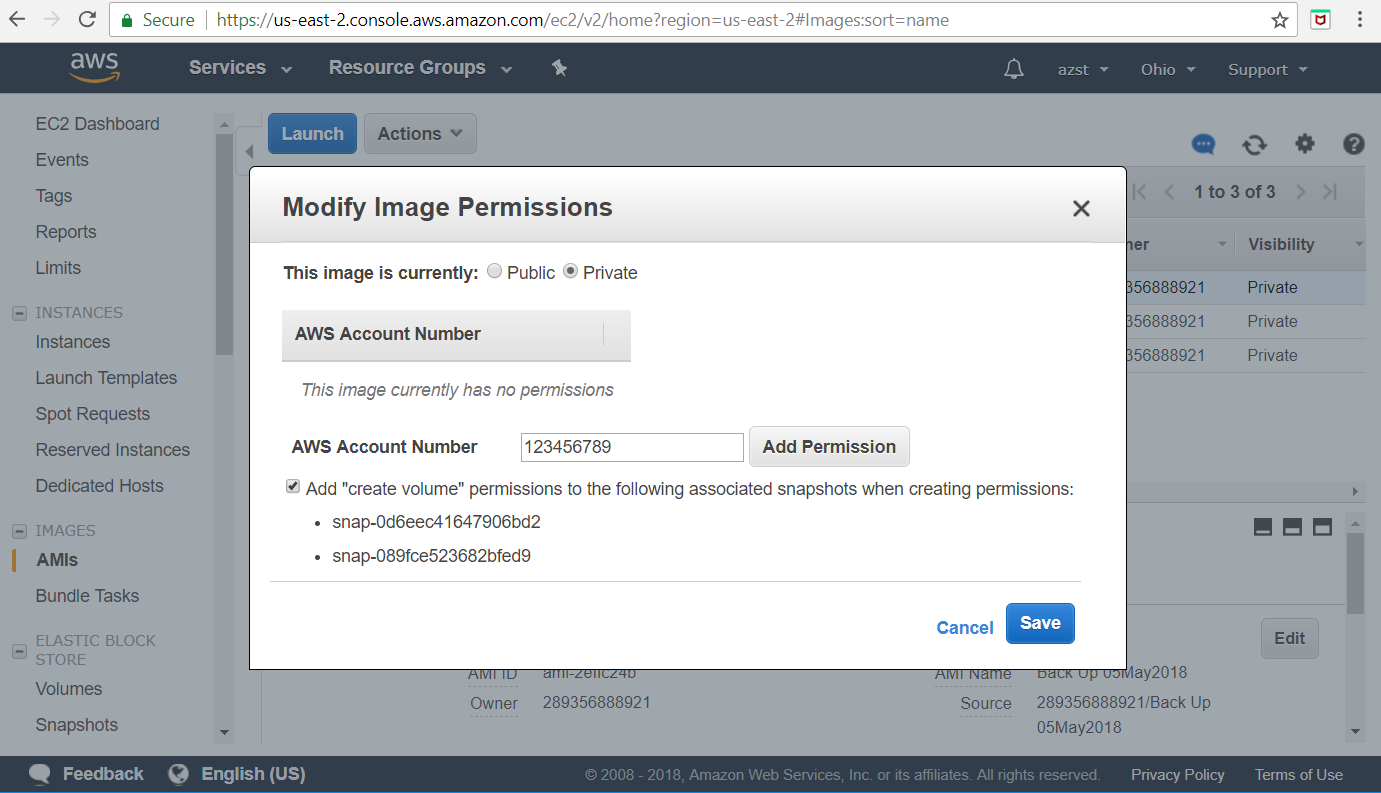
Step 3,Transfer AMI to Backup AWS Server
At this point this backup AMI is ready to be grabbed by the backup AWS account. So now log in to the backup AWS Console and go to the instances tab. Below is what my backup AWS server currently looks like. For no particular reason, 2 backup servers are running. Only 1 is really necessary.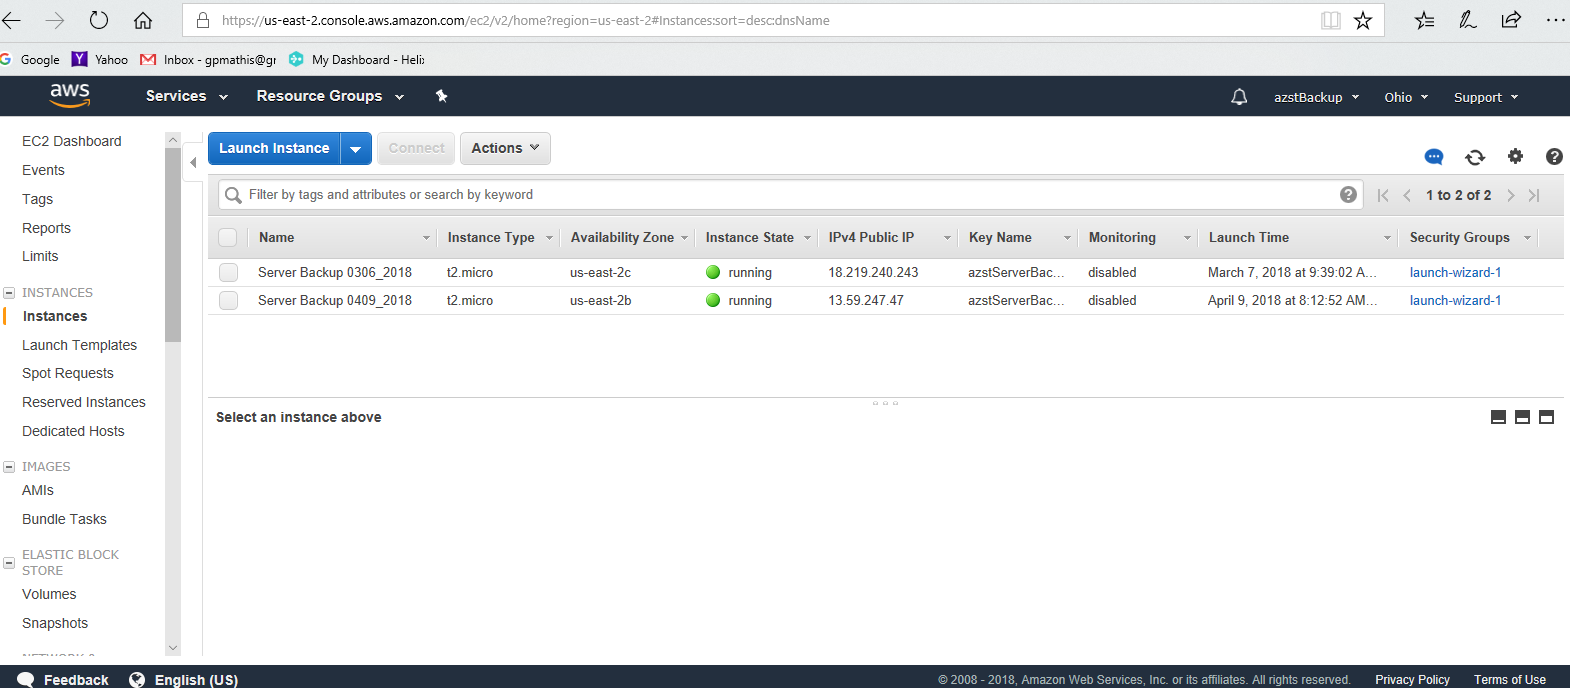
Go to the AMIs tab, and change "Owned by me" to "Private Images".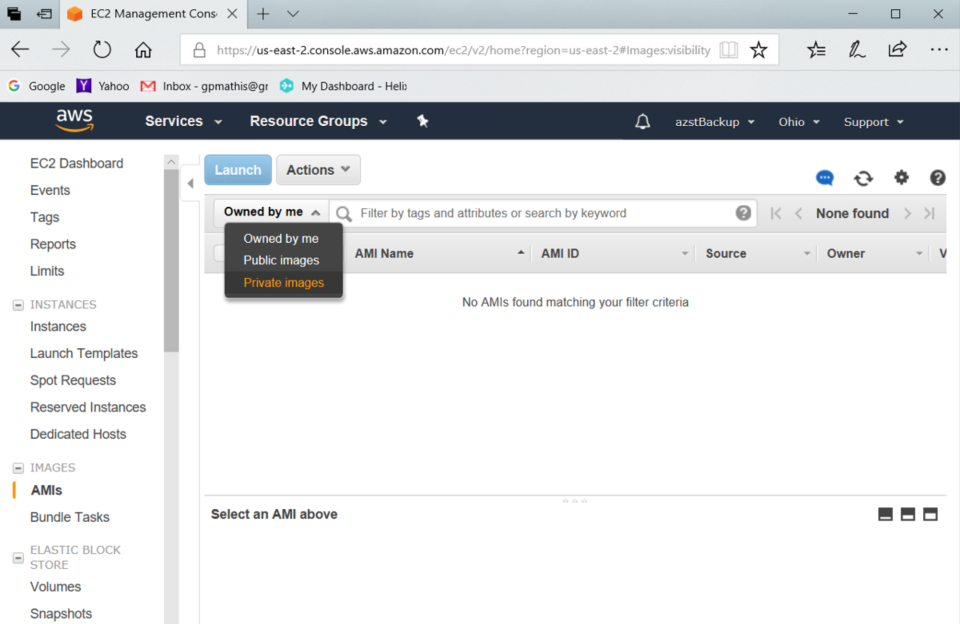
You should now see the back up AMI we created in the primary account (I misnamed it ... it should say "Back Up 10May2018")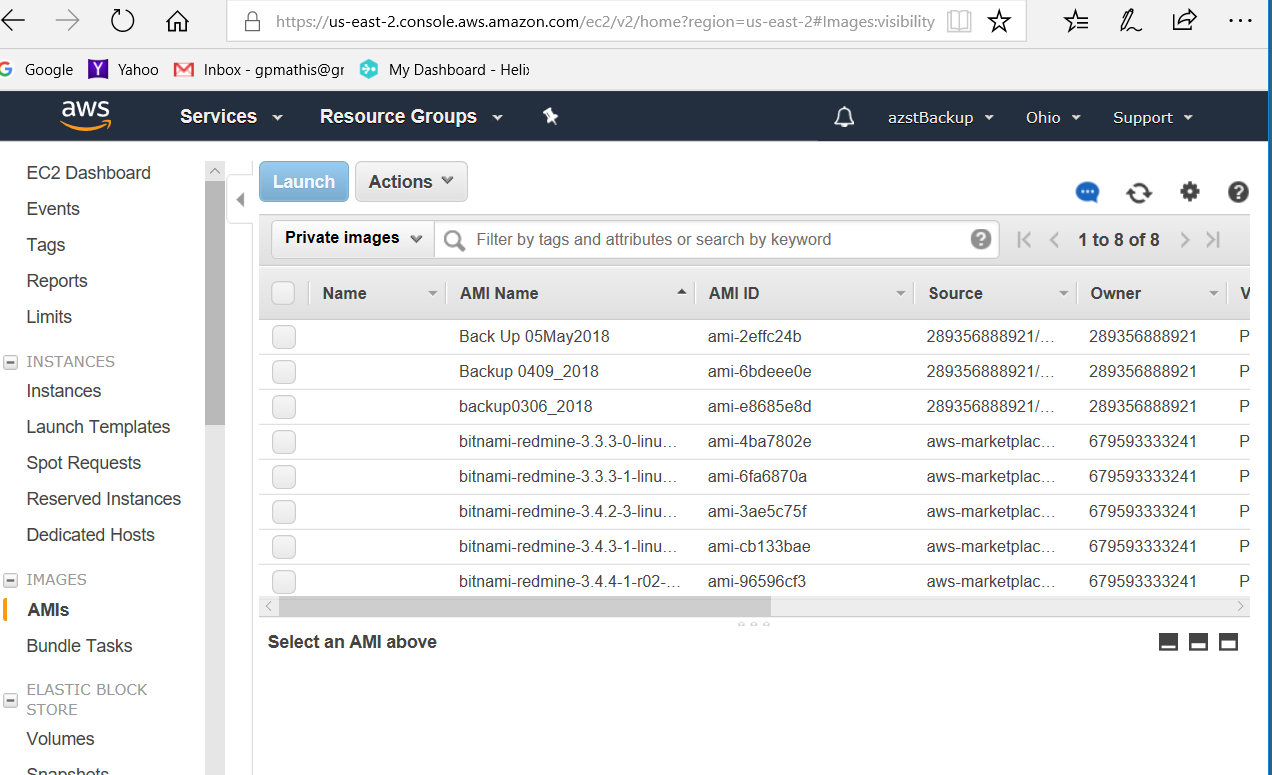
Step 4, launch backup AMI on backup AWS Server
Now select the AMI, right click and select Launch: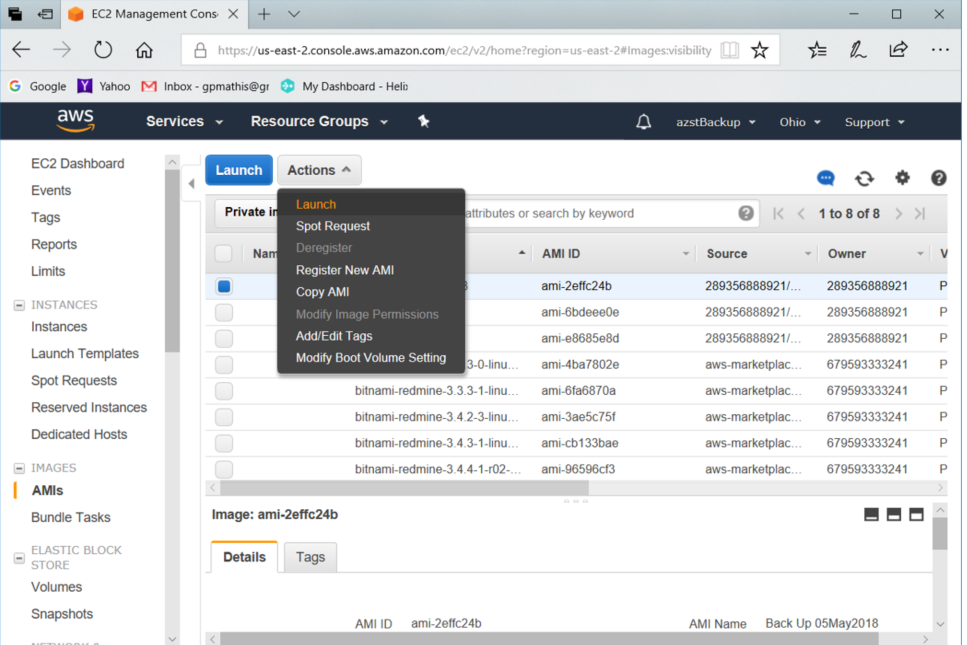
Choose instance type t2.micro, which it defaults to. Select "Review and Launch".
This will bring up next configuration. Select Edit Security Group and select existing security group and then select "launch wizard-1" ... But the important part are the 6 inbound rules shown below (port 443 is for Redmine, 1666 is for Perforce)
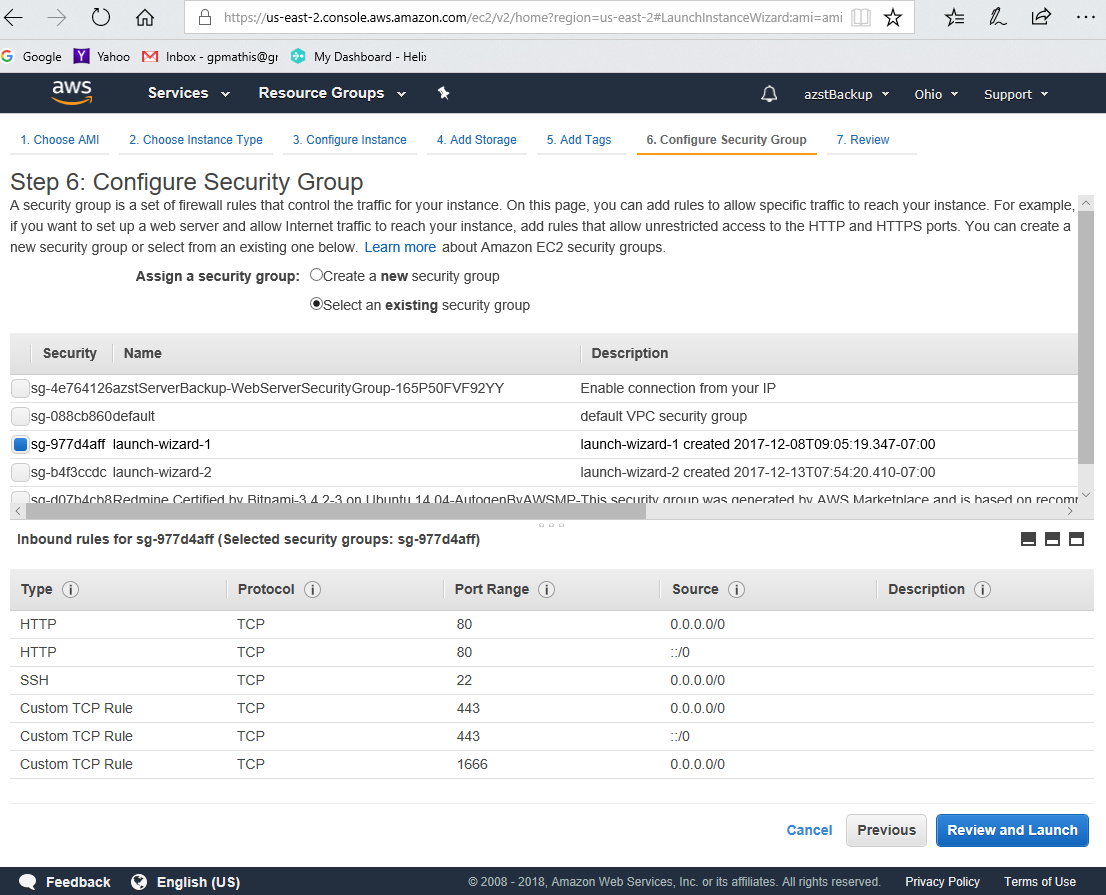
Then select "Review and Launch" which will bring up the message below: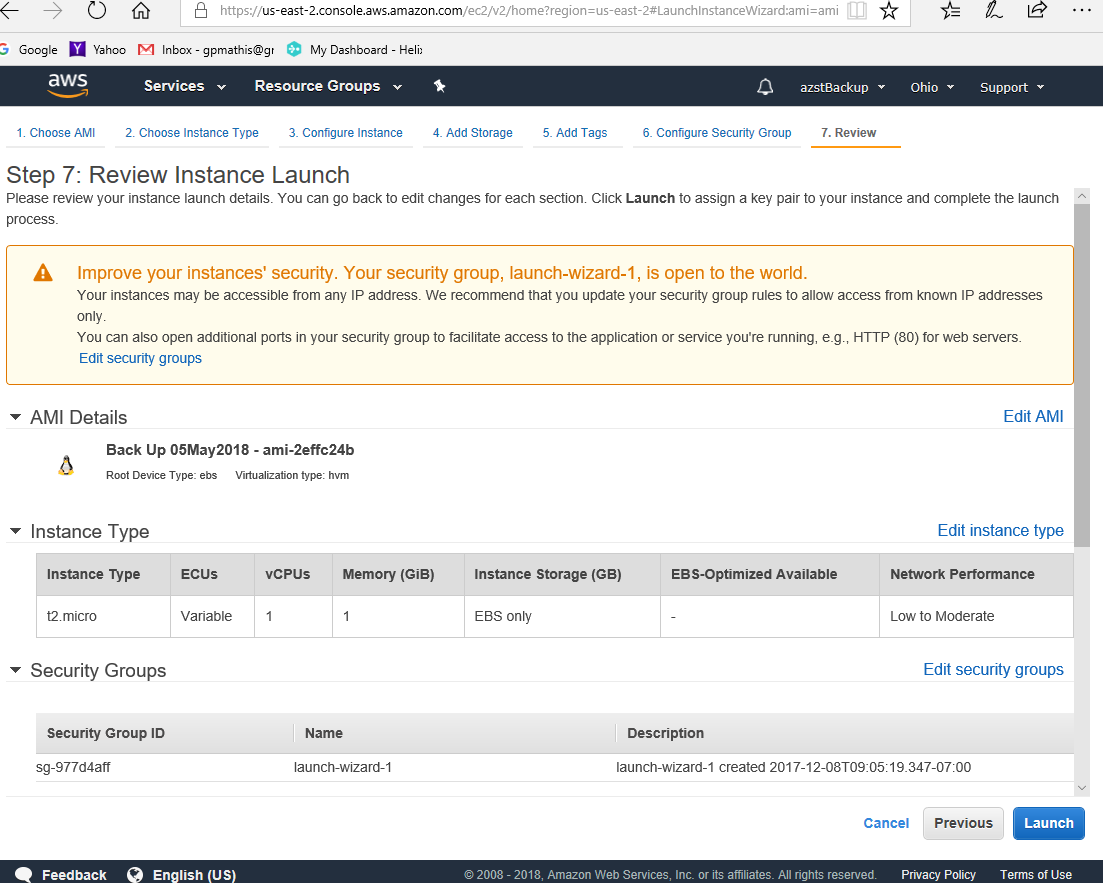
Select "Launch", which should bring up a window to select your key pair created when this backup account was created.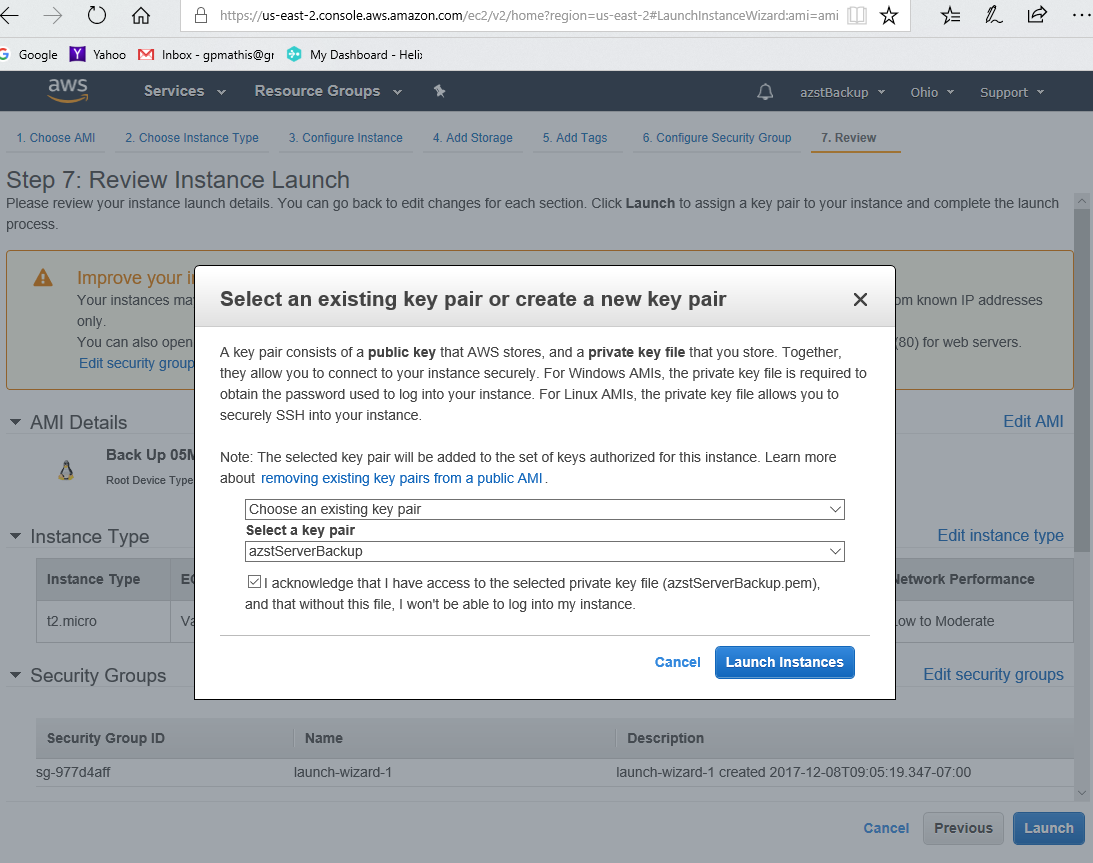
Check the acknowledge box and then select "Launch Instances". Now the new instance should be launching. 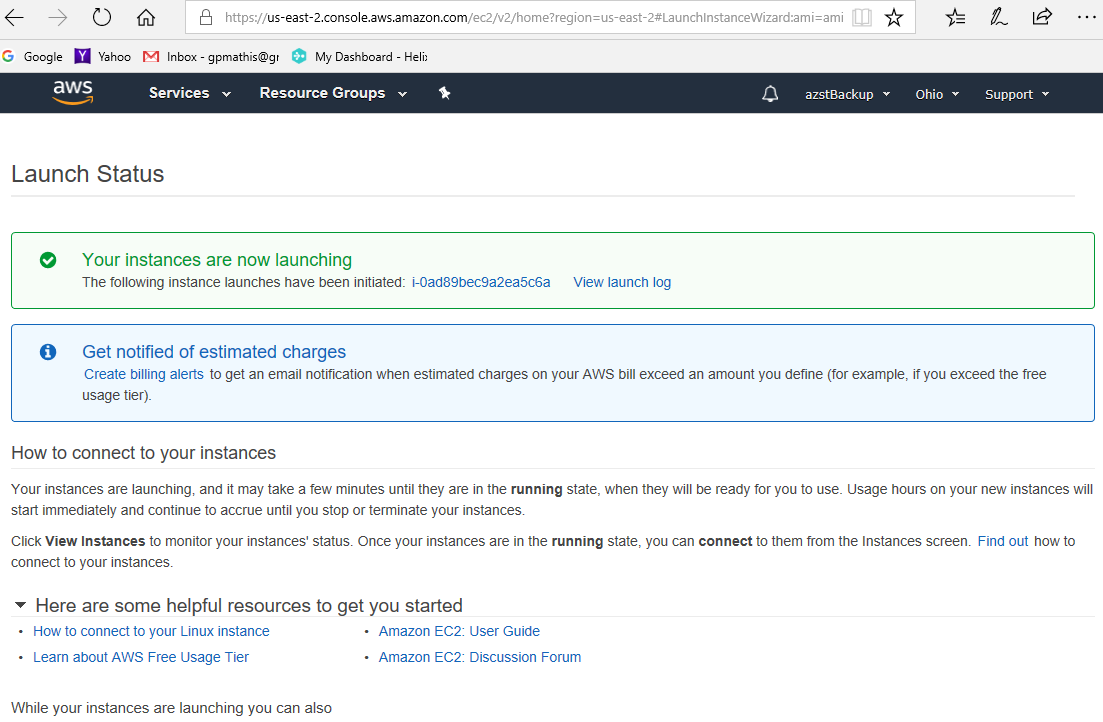
It may take a few minutes for the new instance to show up in the Instance tab on the AWS Console. Fill in a name. In this case I called it "Server Backup 0510_2018".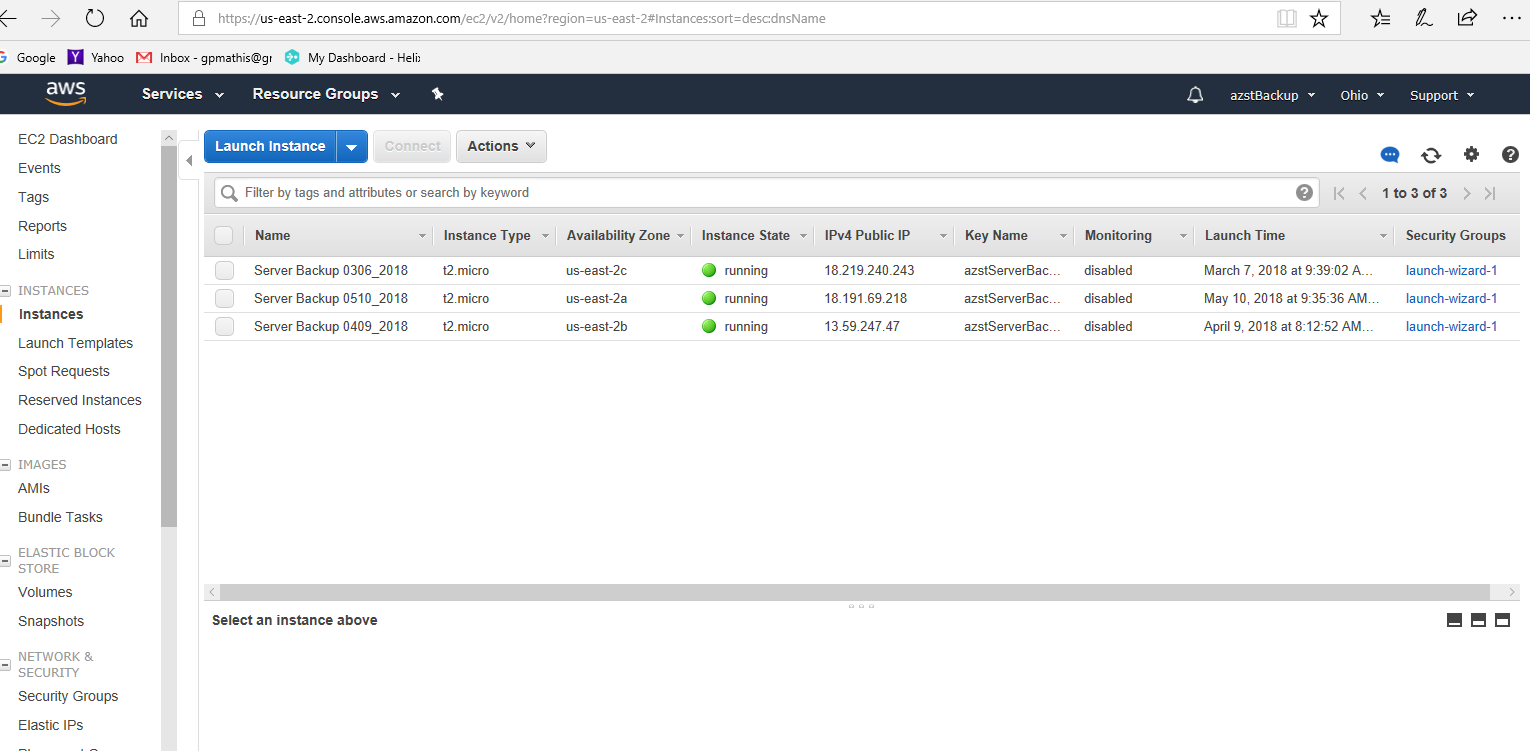
Notice the public IP address it created for the new backup instance, in this case 18.191.69.218. Point a browser directly to that IP address and you should get the Redmine login page.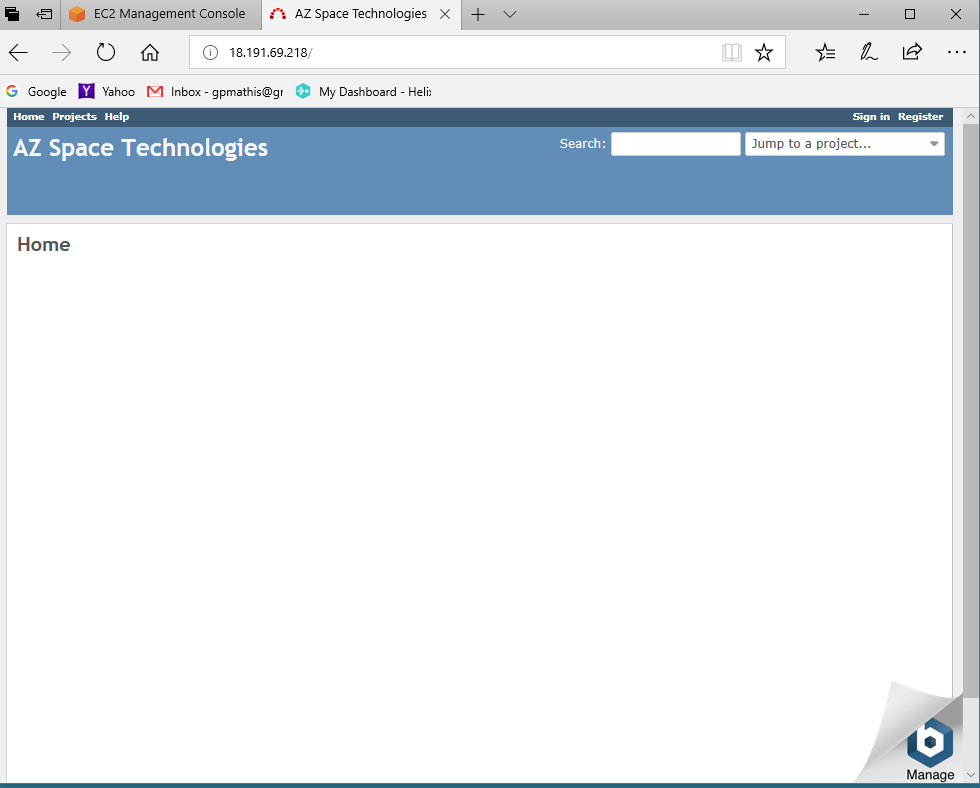
Perforce will not work since the license file is based on the AWS Private IP address, highlighted in the image below.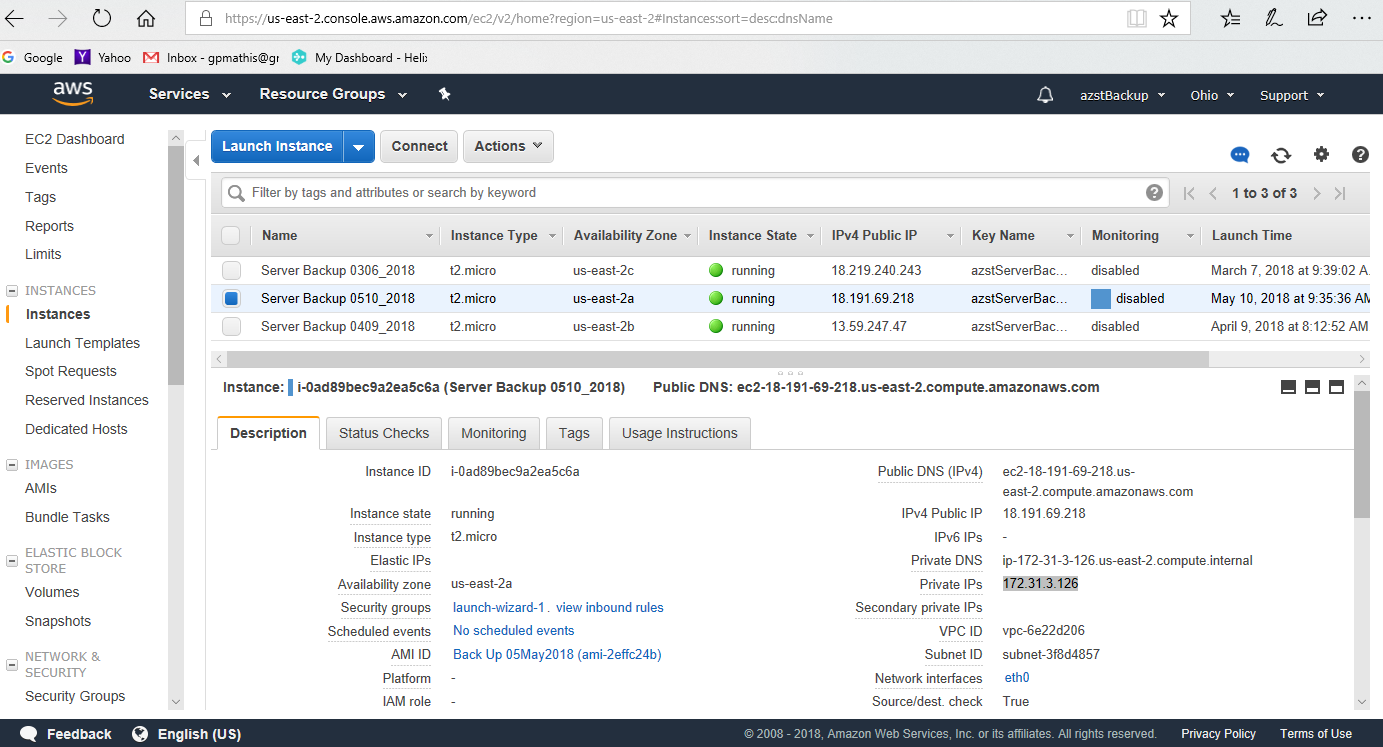
At this point you would have to contact Perforce and get a new license file issued with this new Private IP address.
Also at this point, you could delete some of the backup instances running on the backup AWS server. You could also delete the backup AMI on the primary server. Otherwise your AWS bill will increase, as you are using more disk space and server running time.

